
Last updated September 20, 2026
Full 25-point door and opener safety check with every visit - springs, cables, rollers, tracks, and your LiftMaster or Chamberlain opener included
You get a price before we start. It does not change when the truck arrives.
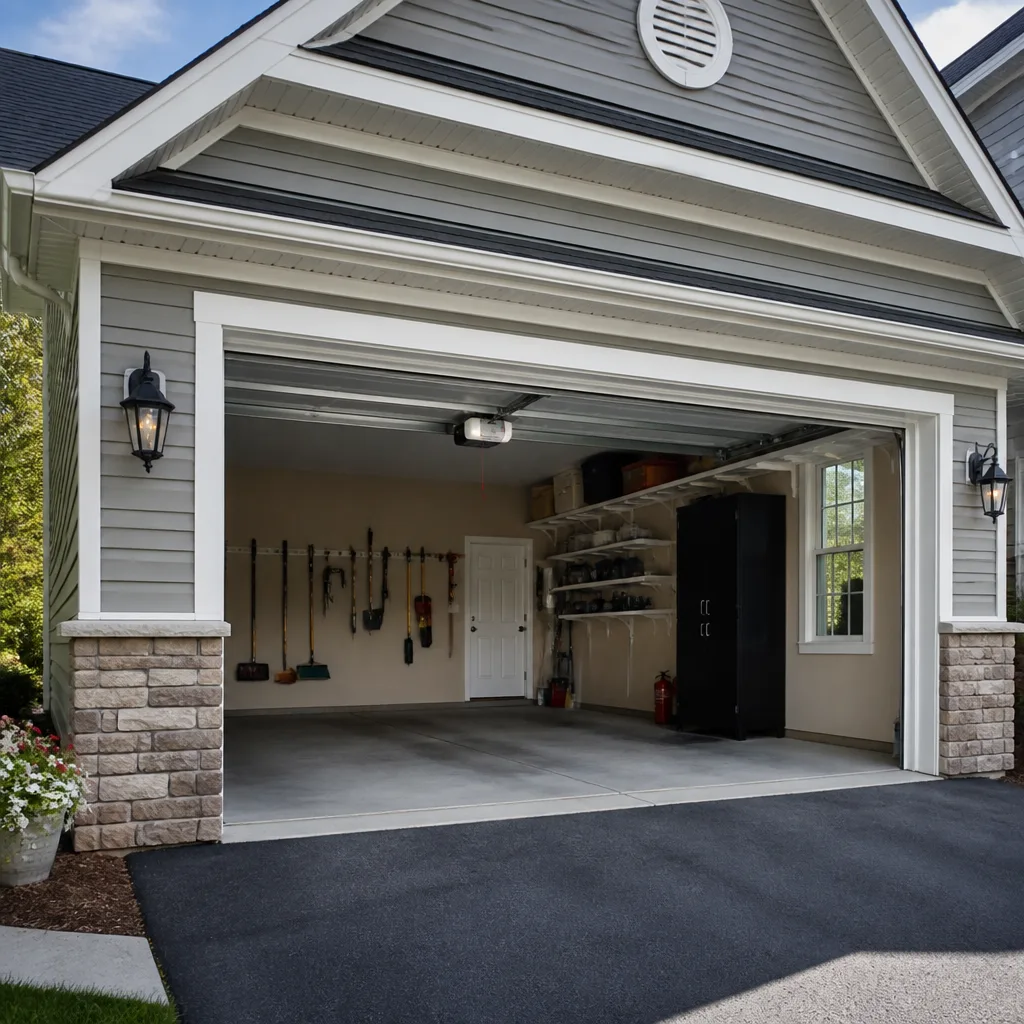
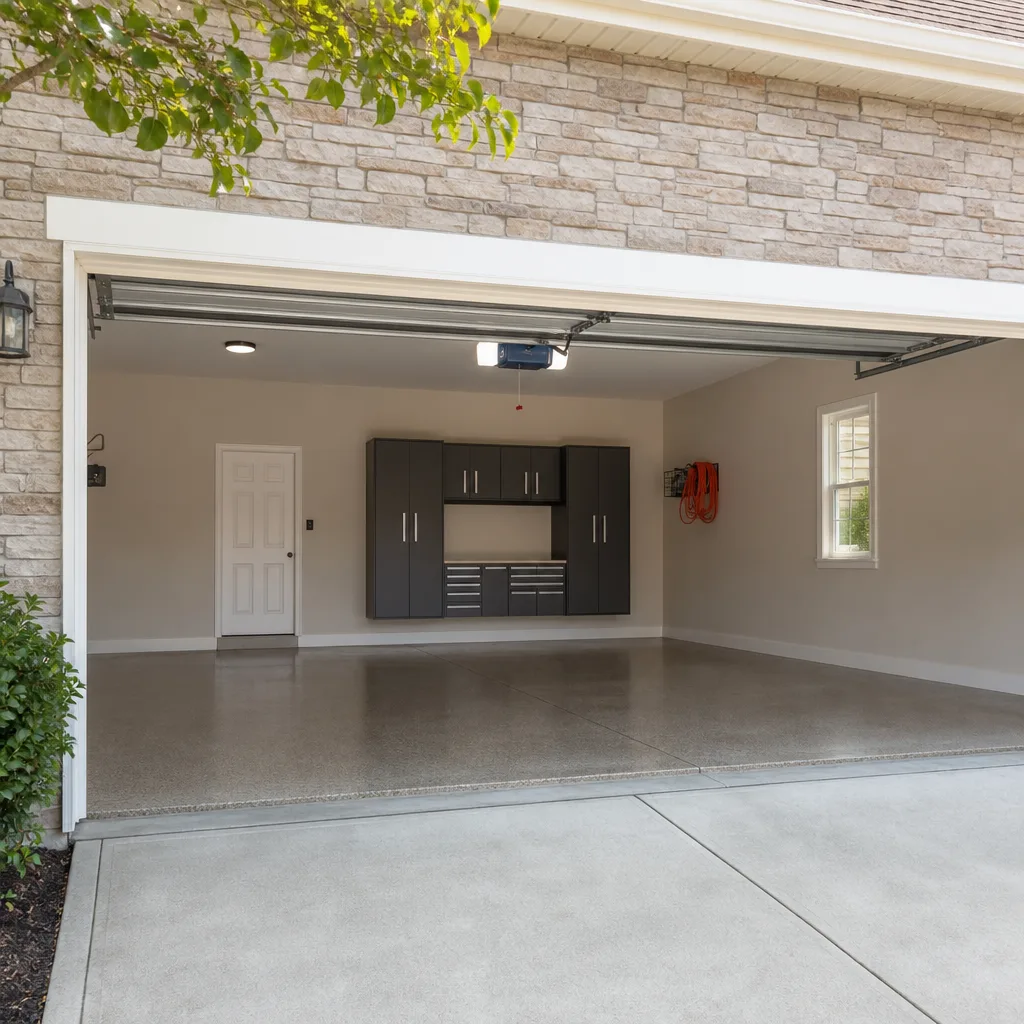
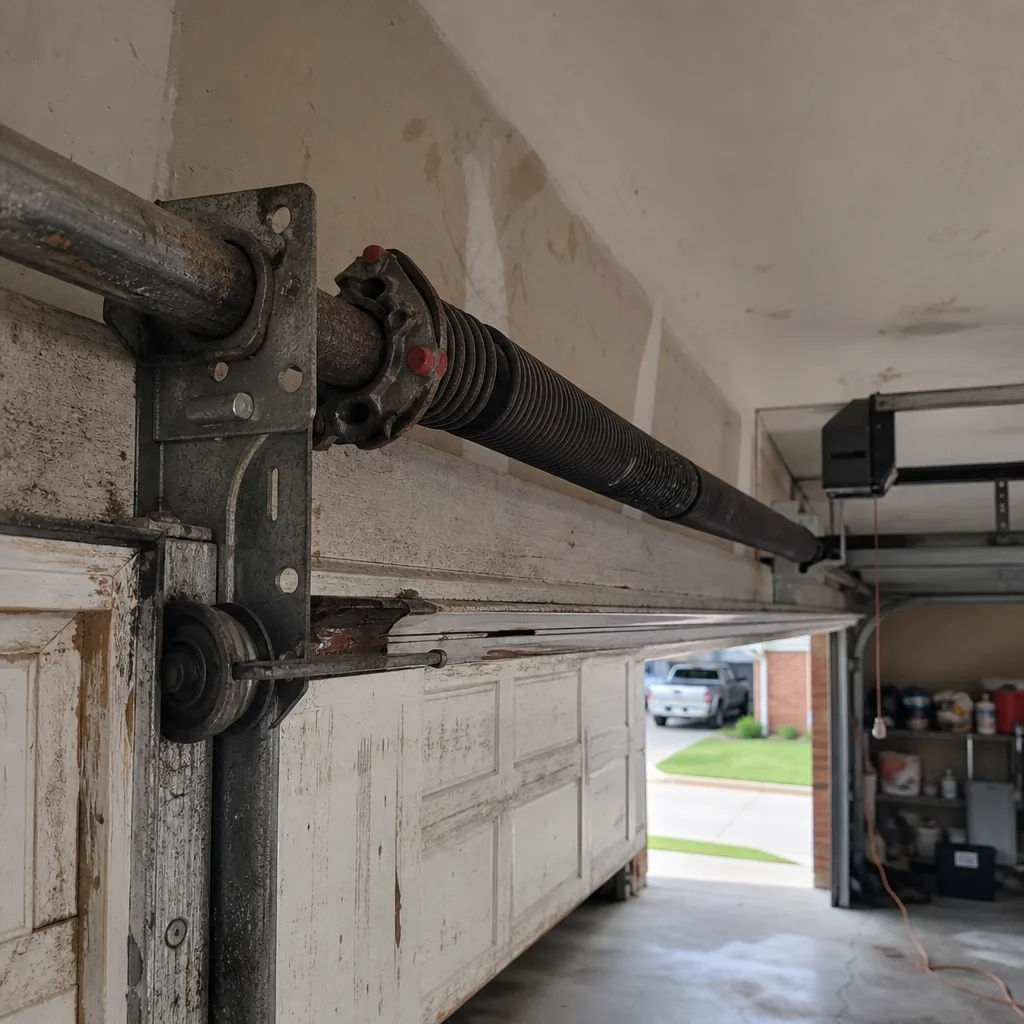 Before
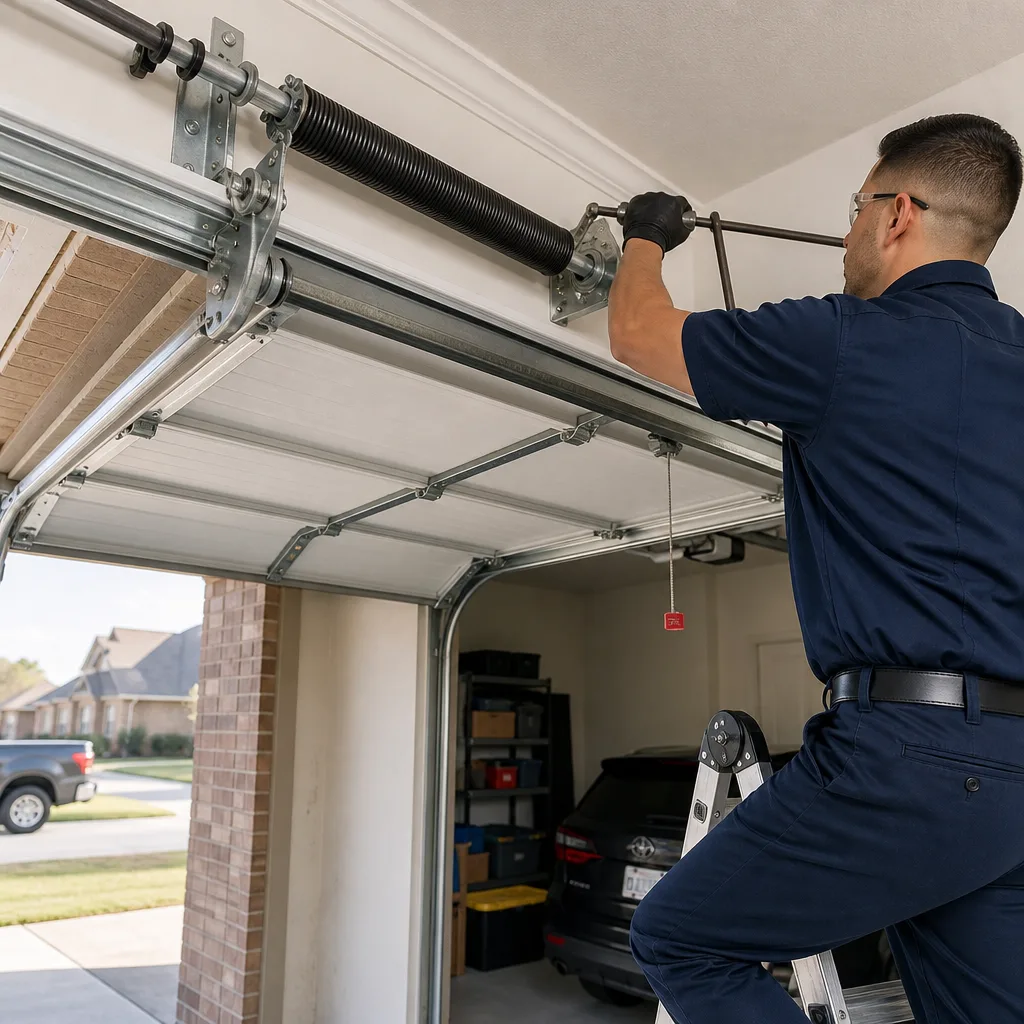 After
After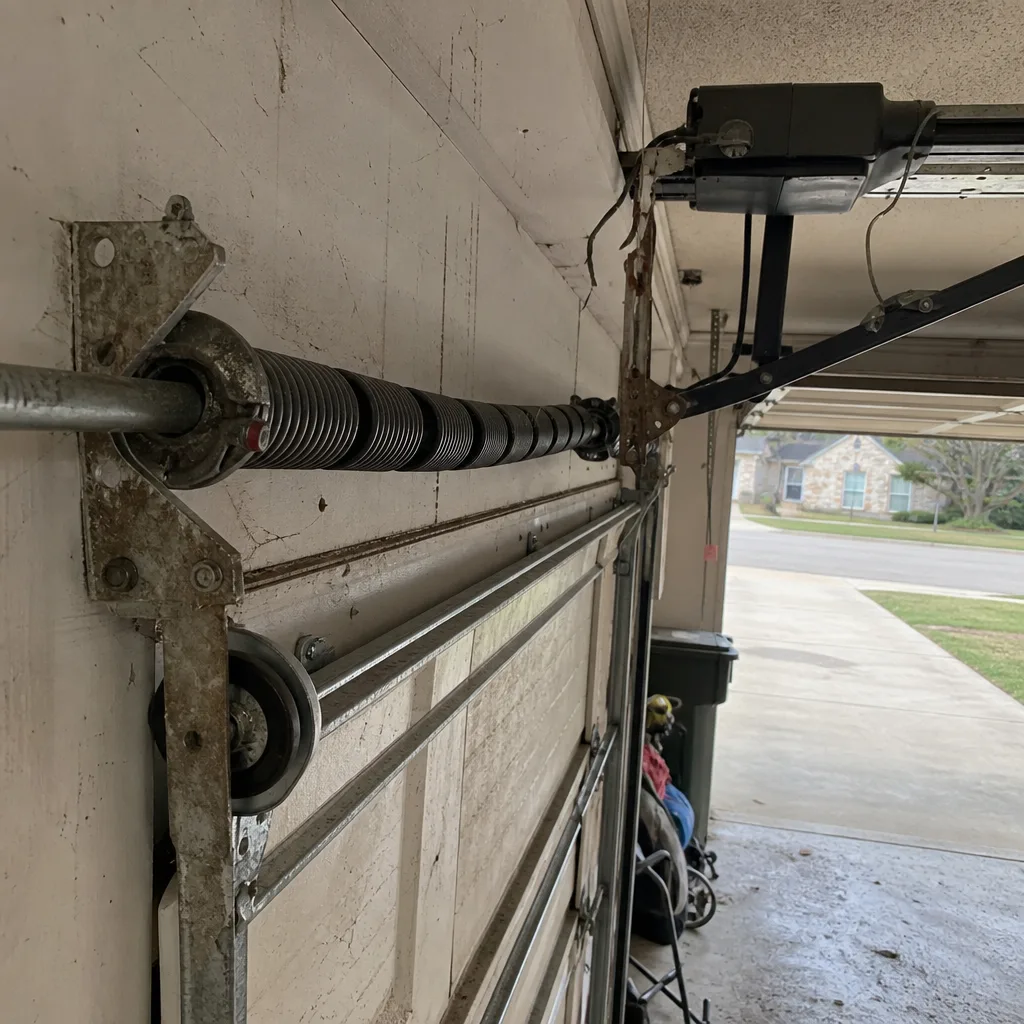 Before
 After
After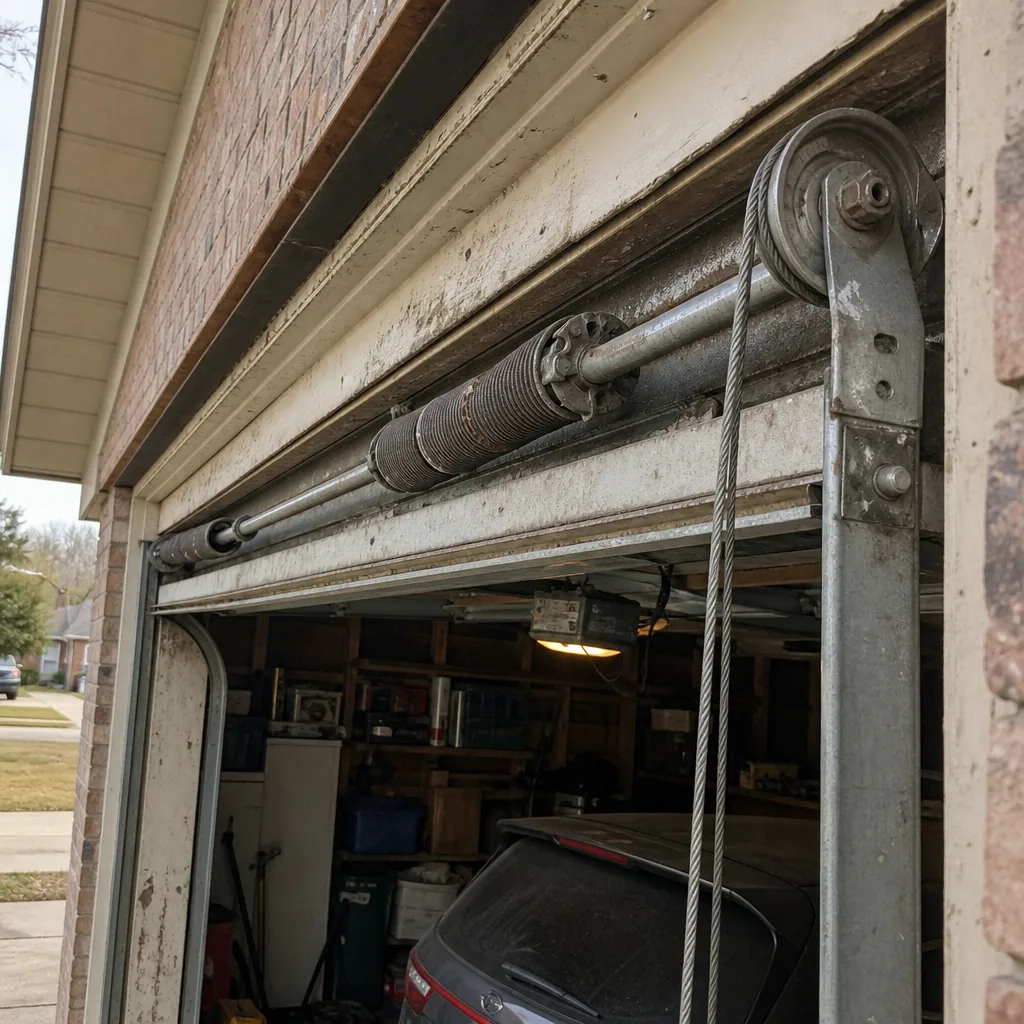 Before
 After
AfterDIY vs Professional Garage Door: The Dallas Homeowner’s Decision Guide
A torsion spring stores roughly 100 foot-pounds of torque when wound. That’s enough stored energy to fracture a wrist or orbital bone if the winding bar slips mid-turn. The money saved by doing that particular repair yourself averages $80 to $120 in Dallas. This guide is not here to scare you away from your own garage, and you can find more guides & resources on our site. It’s here to draw a line, component by component, between the tasks a Dallas homeowner can reasonably handle and the ones where the injury math makes no sense. We’ll walk through the mechanical reasons behind each call, what a botched DIY attempt actually costs to correct, and which Dallas-specific factors change the equation on openers and electrical work.
Quick Answer
DIY makes sense for bottom seal replacement, sensor realignment, track lubrication, and remote reprogramming. Professional service is the correct call for torsion spring winding, cable drum replacement, door panel replacement, and any opener work involving Dallas homes built before 1972 with aluminum wiring. The deciding factor is not skill. It’s whether the component stores mechanical energy under tension. If it does, the $80 to $120 you’d save is not a rational trade against a hospital bill or a secondary repair that costs more than the original job.
Table of Contents
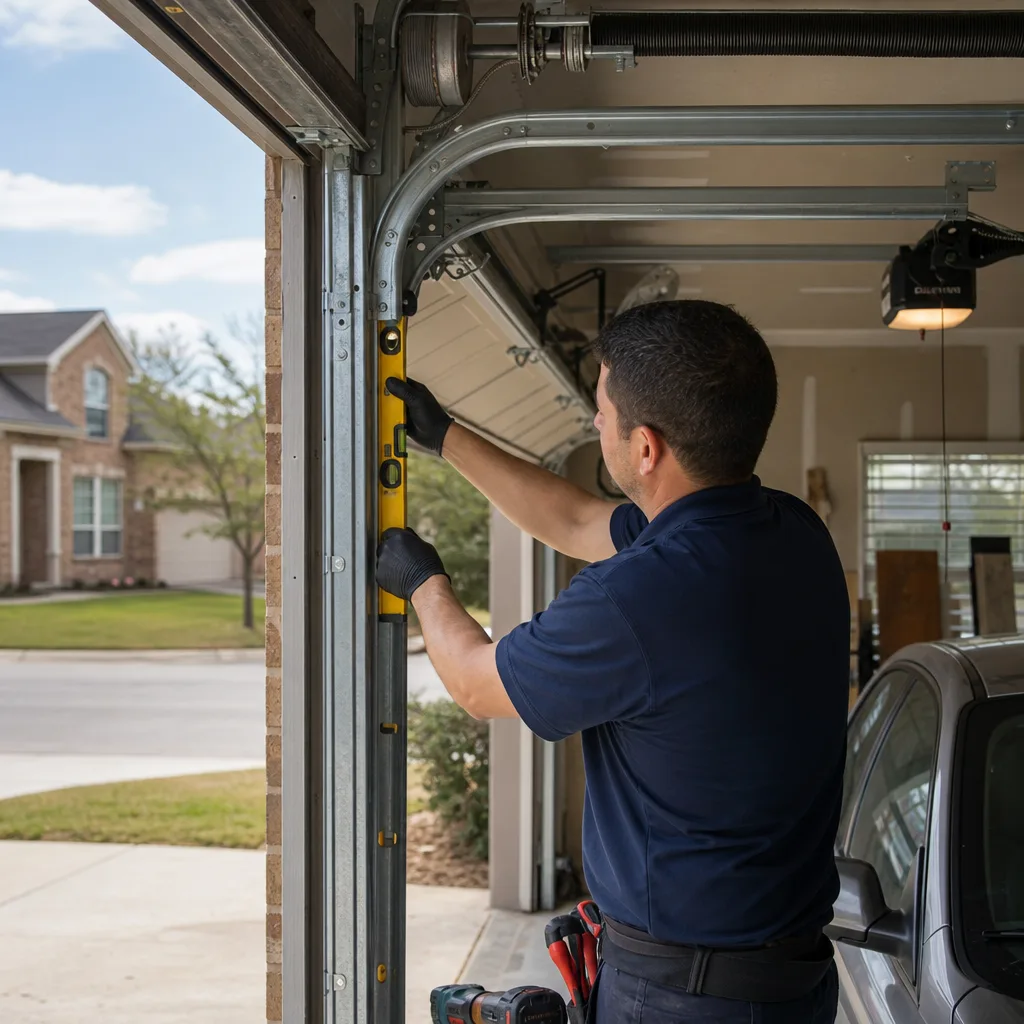
- The Component-by-Component Viability Table
- Why Torsion Springs Are Not a DIY Job
- Cable Drums, Extension Springs, and the Parts People Underestimate
- What a Dallas Homeowner Can Legitimately Do
- The Hidden Cost of a DIY Attempt That Goes Wrong
- Dallas-Specific: Opener Installation and Aluminum Wiring
- Manufacturer Documentation and Warranty Implications
- What to Do Before You Call a Professional
- Common Mistakes to Avoid
- When to Call a Professional
- Frequently Asked Questions
- The Bottom Line
BeforeAfterThe Component-by-Component Viability Table
Most garage door guides lump every repair into two buckets: “call a pro” or “do it yourself.” That’s not how a door actually works. A garage door is a system of parts, and those parts fail at different rates, for different reasons, with different stakes. Here is the component-level breakdown we use when a Dallas homeowner asks us point-blank whether something is worth attempting, though you may also want to review our Garage Door Repair Maintenance Checklist for Dallas Homeowners.
| Component | DIY Viable? | Reason | Typical Pro Cost in Dallas |
|---|---|---|---|
| Bottom seal (weatherstrip) | Yes | No stored energy; slide-out replacement | $85-$140 |
| Photo-eye sensor realignment | Yes | Low voltage; adjustment screws only | Often included with service call |
| Track lubrication | Yes | No disassembly required | $30 material cost if DIY |
| Remote/keypad reprogramming | Yes | Manufacturer instructions; no tools beyond a ladder | Free-$60 |
| Hinge replacement | Sometimes | Low tension if door is braced; requires two people | $95-$160 per hinge |
| Roller replacement (non-bottom) | Sometimes | Non-bottom rollers are accessible; bottom rollers are not | $45-$90 per roller |
| Extension spring replacement | No | Springs stretch under load; safety cable required | $140-$220 |
| Torsion spring replacement | No | Stored torque; requires winding bars and exact spring math | $180-$340 |
| Cable drum replacement | No | Connected to torsion assembly; cable under lift load | $150-$260 |
| Opener logic board replacement | No | Electrical diagnosis required; wrong part damages the motor | $130-$245 |
The line between yes and no is not how hard the job looks. It’s whether the part stores energy when the door is closed. A bottom seal just sits there. A torsion spring does not.
Why Torsion Springs Are Not a DIY Job
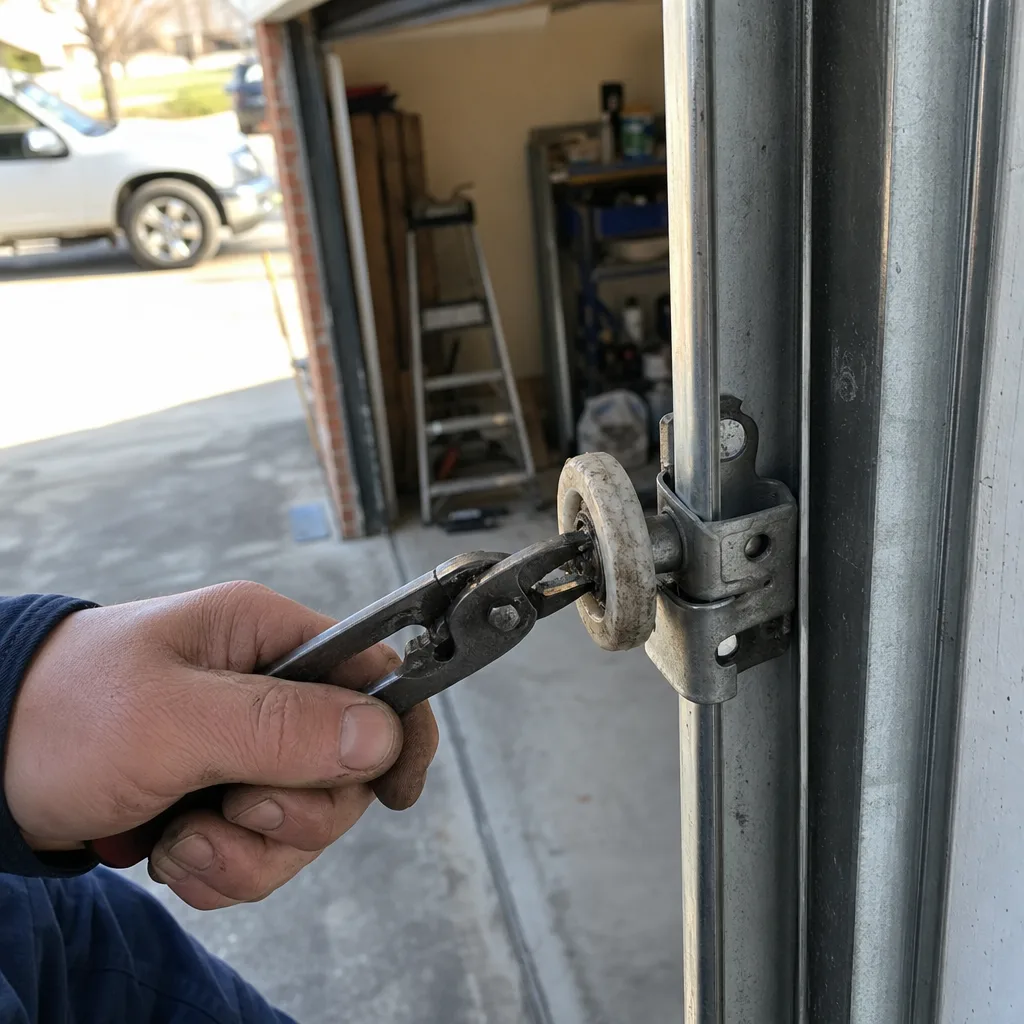
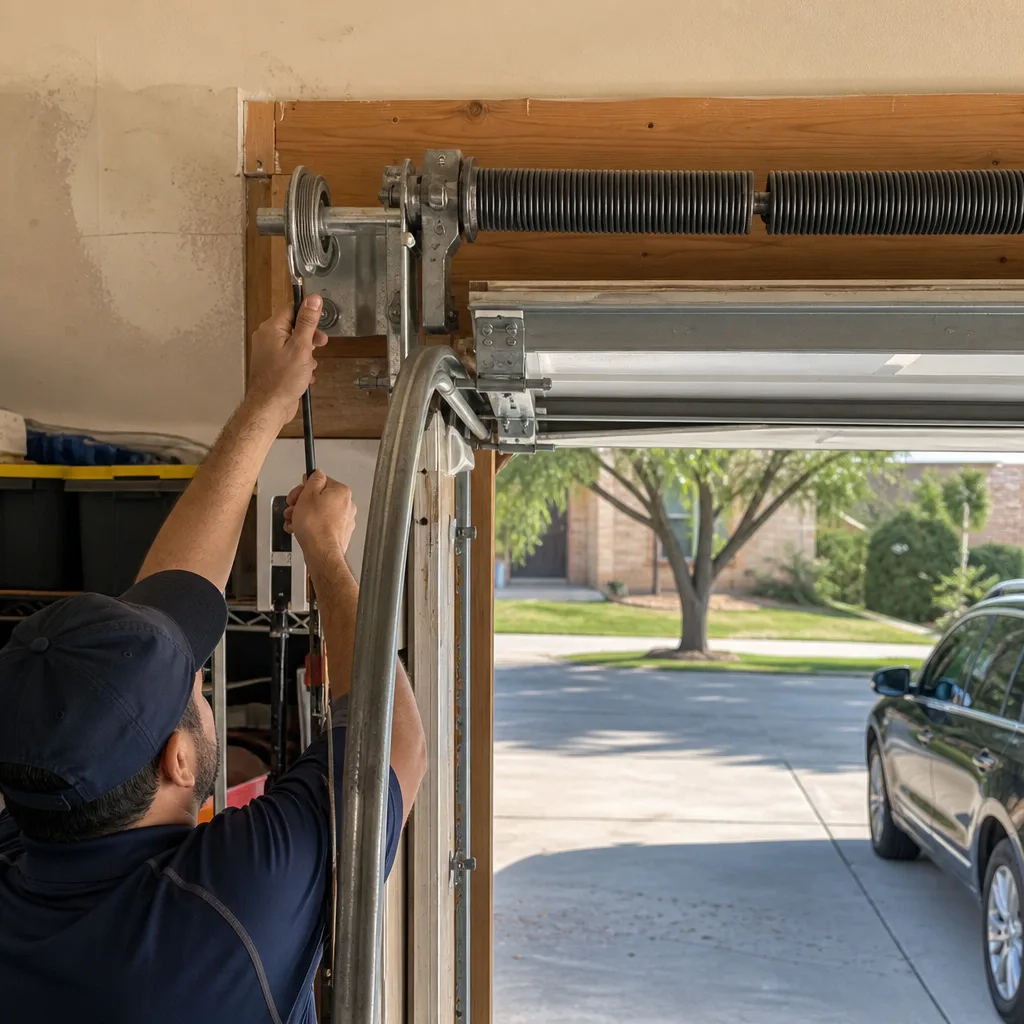
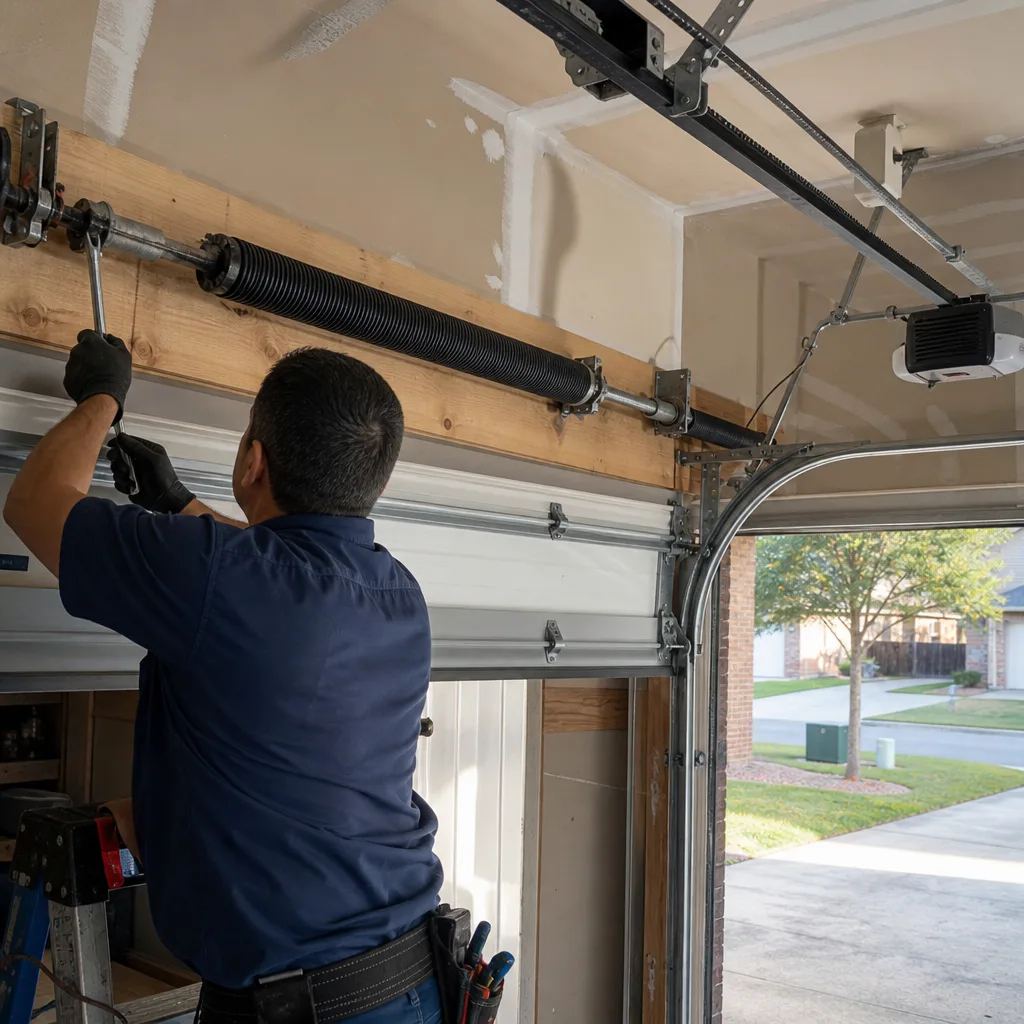
A torsion spring is a coiled steel bar mounted horizontally above the door opening. When the door closes, the spring winds tighter, storing the energy required to lift the door’s weight, typically 150 to 250 pounds for a double-car door in a Dallas home. When the spring breaks, all that energy is still in the intact coils. The repair requires winding the new spring to the correct number of quarter-turns, usually between 28 and 34 for a standard 7-foot door, using two steel winding bars inserted into the spring cone.
If one of those bars slips, the spring unwinds instantly. The bar becomes a projectile moving at high speed. The person holding it is standing on a ladder, often in a dim garage, with their face and hands directly in the path of that release. We have responded to Dallas homes where a homeowner attempted a spring winding with a screwdriver or an incorrectly sized rod. The result is almost always the same: the spring cone is stripped, the shaft is bent, and the door is stuck half-open with the remaining spring under inconsistent tension.
The cost to correct that is higher than the original spring replacement would have been, because now the technician has to unload a compromised assembly, replace additional components, and re-tension the entire system from scratch. The savings a homeowner was chasing, the $80 to $120 we mentioned at the top, evaporates and then some. Garage door repair in Dallas for a broken torsion spring is a same-day job when the right parts are on the truck. The alternative is not.
The mechanical math is straightforward: a torsion spring under full wind stores enough force to lift a 200-pound door 70 times per day for a decade. That’s the same force a human hand is trying to control with a 18-inch steel bar. The asymmetry is not a matter of experience. It’s a matter of leverage, angle, and failure mode. No amount of YouTube carefulness changes the physics.
Cable Drums, Extension Springs, and the Parts People Underestimate
Cable drums sit at each end of the torsion shaft and wind the lift cables that raise and lower the door. When a cable frays or a drum cracks, the cable can snap under load and whip across the garage. The cable is under full door weight when the door is in any position other than fully open, and a broken cable on one side instantly transfers all the weight to the other side. That’s how a door hangs crooked and then binds in the track, and that’s how a secondary track bend becomes a multi-hundred-dollar add-on.
Extension springs, common on older Dallas homes with one-piece doors or lighter sectional doors pre-1990, stretch along the horizontal track on each side. They do not look as intimidating as a torsion spring. That’s the trap. An extension spring under stretch stores the same lifting force as a torsion spring, just distributed differently. The failure mode is not a bar slipping but a spring breaking and sending itself backward through the drywall, which is why code requires a safety cable run through the center of each spring. Older Dallas homes without that safety cable are common in neighborhoods like Casa View and Lake Highlands, and the homeowner who replaces an extension spring without installing or verifying that cable is accepting a risk they cannot see-one reason to check our Garage Door Permits, Codes & Inspections in TX: What You Need to Know before starting work.
Roller replacement gets a “sometimes” rating for a specific reason. The top rollers are exposed and simple. The bottom rollers ride on brackets under constant cable tension, and removing one without bracing the door or clamping the track is how fingers get crushed. If you’re going to attempt a roller, mark the track position before loosening anything and have a second person brace the panel. If it’s a bottom roller, let a pro do it. The service call is cheaper than the urgent-care visit.
What a Dallas Homeowner Can Legitimately Do
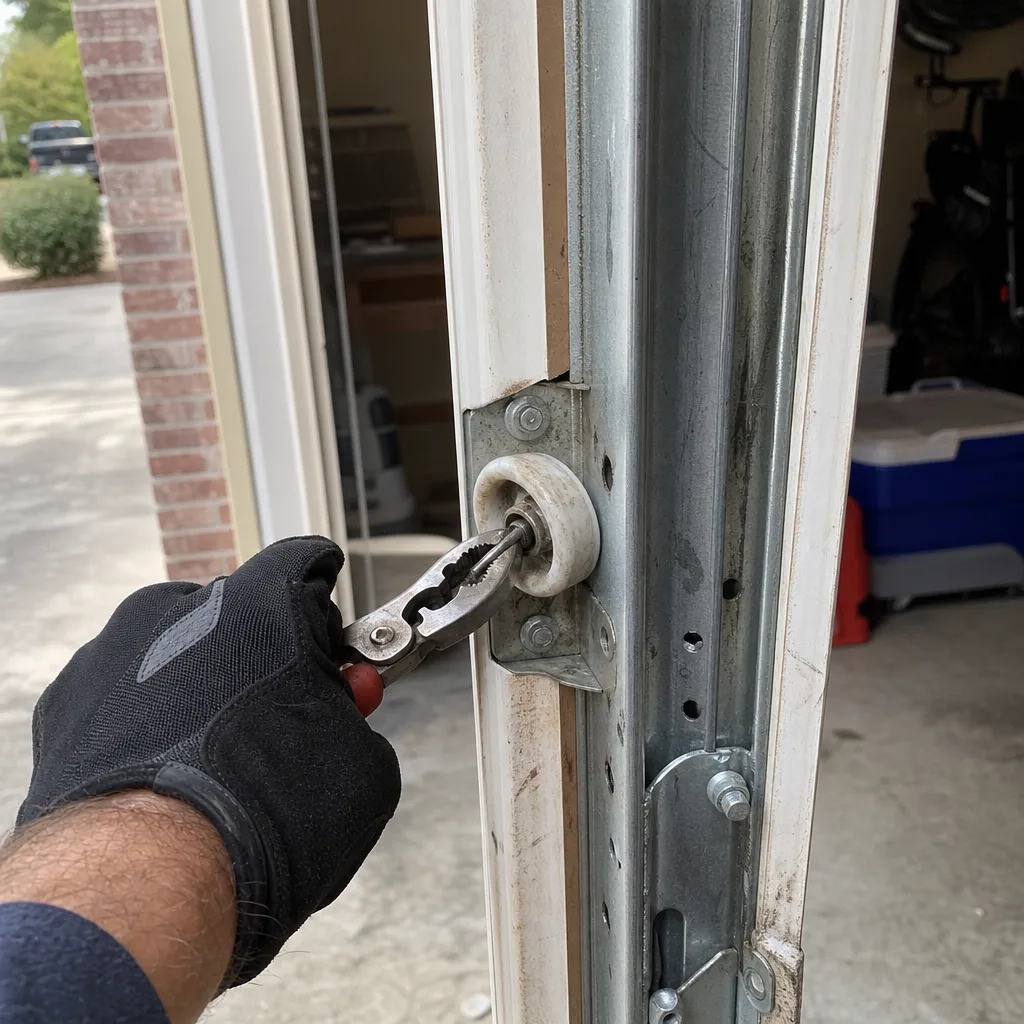
Not everything requires a truck roll. And in our experience, the homeowner who handles the small tasks well is also the homeowner who calls us at the right time for the big ones. Here is what you can do without special tools, without a second person, and without taking a risk that outpaces the savings.
- Replace the bottom seal. The rubber weatherstrip on the bottom of the door slides out of its retainer channel. Measure the door width, cut the new seal to length with a utility knife, and slide it in. The seal keeps Dallas heat, humidity, and the occasional scorpion or field mouse out of the garage. A worn seal is also a heat-loss point in winter and a dust entry point in summer. Cost: $15 to $40 at any Dallas hardware store. Time: 30 minutes.
- Realign the photo-eye sensors. The sensors sit 6 inches off the floor on either side of the door opening. If the opener light blinks and the door refuses to close, check that both sensor lenses are clean and pointing directly at each other. Most brackets have a wing nut that allows fine adjustment. A level helps. This is a low-voltage system, so the electrical risk is minimal.
- Lubricate the moving metal parts. Use a white lithium or silicone spray on the hinges, rollers, and the torsion spring itself, not WD-40, which is a solvent and will strip existing lubricant. Two or three times a year is enough in Dallas, where dust and heat bake lubricant off metal faster than in cooler climates.
- Reprogram a remote or keypad. Every Genie, LiftMaster, and Chamberlain opener has a Learn or Program button on the motor unit. The manufacturer’s printed instructions or a quick model-number search will walk you through it. No ladder acrobatics required. If the remote won’t program, the issue is usually the logic board, not the remote, and that is where DIY should stop.
- Test the balance and reversal. Disconnect the opener with the emergency release cord, lift the door manually to halfway, and let go. A properly balanced door stays put. If it drops or rises, the springs need attention. Then test the auto-reverse by placing a 2×4 flat on the floor under the door’s path and closing it. The door should reverse within two seconds of contact. These two tests tell you more about your door’s health than any inspection without tools.
These five tasks cover the majority of what a Dallas homeowner can safely do. They also cover the tasks that, done regularly, extend the life of the components you should not touch yourself.
The Hidden Cost of a DIY Attempt That Goes Wrong
Here’s what we find on service calls that follow a homeowner’s attempt at a repair that should have been handled professionally. This is not theoretical. This is the second-service-call pattern we see across Dallas, from Oak Cliff to Far North Dallas.
The most common scenario: a homeowner replaces a broken torsion spring with a spring they bought online without verifying the wire diameter, inside diameter, and length against the old spring. The door lifts unevenly. The opener, now fighting an incorrectly balanced door, burns out its travel module or strips the plastic gear inside the motor housing. What started as a $240 spring replacement is now a $240 spring replacement plus a $190 opener repair, because the new spring has to come off, the correct spring has to go on, and the opener has to be diagnosed.
Another pattern: a homeowner loosens the set screws on a cable drum to replace a frayed cable, and the torsion spring unwinds abruptly because the drum was holding the spring position under the assumption that both cables were intact. The door slams down, the bottom panel bends, and the track is now out of square. The repair goes from a $180 cable replacement to a $650 door-and-track repair.
The pattern we see with extension springs: the homeowner replaces both springs but does not run the safety cable. The spring breaks three months later at 2 a.m., shoots through the drywall into the living room, and the homeowner calls us for an emergency repair plus a drywall patch. The spring was the wrong size anyway.
The throughline in all of these: the secondary damage costs more than the primary repair would have. The initial savings of $80 to $150 becomes a net loss of $200 to $500. And that’s before counting the time lost, the frustration, and in the worst cases, the injury. A garage door is a system, not a collection of parts. When one part is wrong, the wrongness travels.
At Servo Garage Doors Dallas, our technicians photograph the failed component before quoting any replacement. That’s Clause 4 of The Haven Standard, and it exists because the customer should see the evidence. When we arrive after a DIY attempt, the photo record shows not just the original failure but the secondary damage the attempt created. That documentation matters, because it tells you exactly what you’re paying for and why.
Dallas-Specific: Opener Installation and Aluminum Wiring
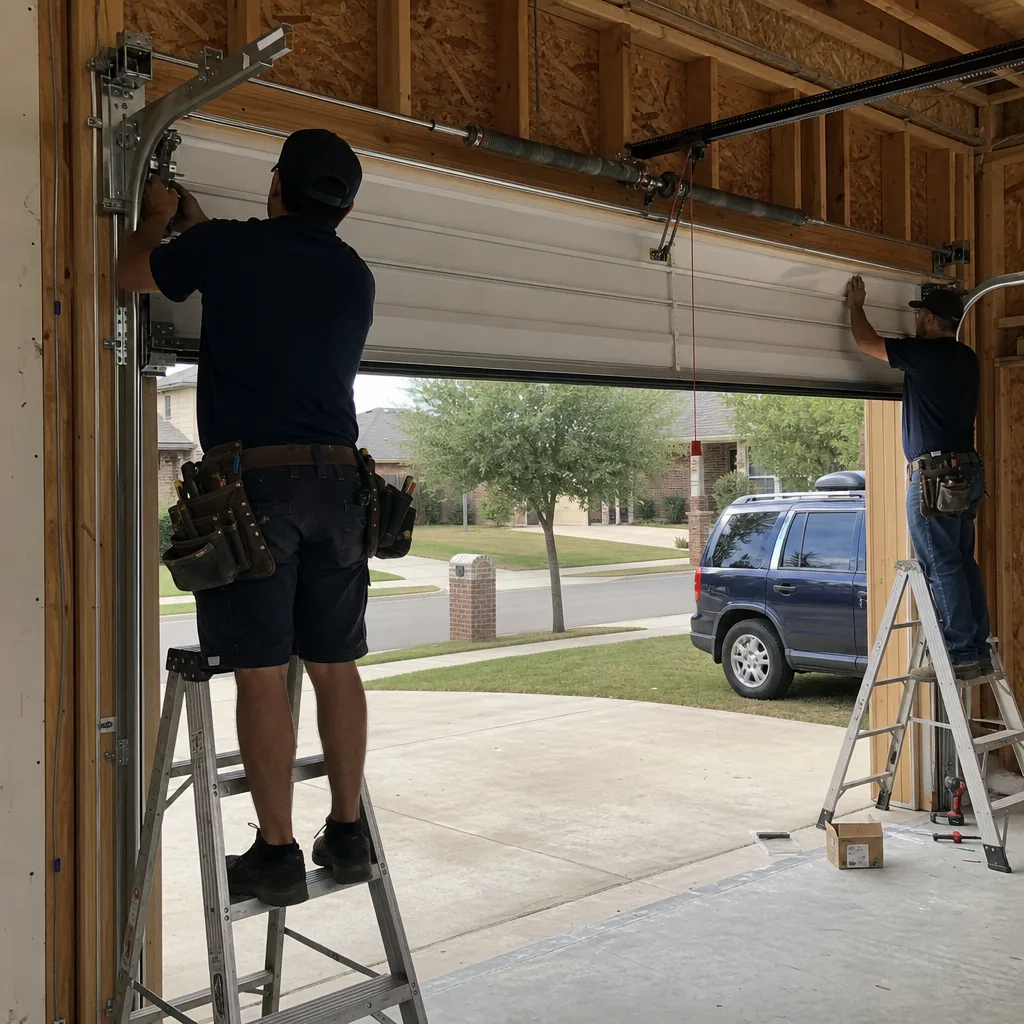
Garage door opener installation is where Dallas diverges from the national DIY advice you’ll find online. The mechanical part of hanging an opener and attaching the rail is straightforward. The electrical part is not always.
Dallas experienced a major housing boom between 1965 and 1972, and many homes built during that window, especially in neighborhoods like Richardson, Garland, Mesquite, and parts of East Dallas, were wired with aluminum branch circuits. Aluminum wiring is not inherently dangerous, but it expands and contracts at a different rate than copper, and the connections at outlets, switches, and fixtures can work loose over decades. A loose aluminum connection arcs, and an arc produces heat at the point of connection.
If your Dallas home has aluminum wiring and you’re installing a new garage door opener, the connection point where the opener’s power cord meets the ceiling receptacle or junction box is exactly where an arcing failure would begin. That’s why opener installation in a home with aluminum wiring should involve an electrician or a garage door company that works with a licensed electrician for the electrical tie-in. We see this in older Dallas neighborhoods regularly, and the homeowner who taps an opener into an existing aluminum circuit without checking the connection is accepting a risk they may not know they have.
Older sub-panels are the second consideration. Many Dallas homes built before 1980 have 100-amp service and a sub-panel in the garage. A belt-drive opener with a battery backup draws more on startup than an older chain-drive unit, and if the sub-panel is already near capacity with a freezer, a workshop circuit, and a washer-dryer, the new opener can trip breakers or cause voltage drop. A voltage drop shortens the life of the opener’s logic board and motor. This is not a garage door problem. It’s an electrical supply problem, and it requires the same professional eye.
The practical takeaway: if your Dallas home is post-1985 construction with copper wiring and a 200-amp panel, opener installation is within reach for a competent DIYer with the right tools and a second person. If your home is older, and especially if it has aluminum branch circuits, get the electrical side evaluated before you mount the motor. Garage door opener repair and installation in Dallas is not just about the opener. It’s about the circuit it draws from.
Manufacturer Documentation and Warranty Implications
Every garage door and opener manufacturer publishes a warranty document, and most of those documents contain language that voids coverage when the product is serviced by someone other than a licensed professional. Clopay and Amarr door warranties, for example, cover panel delamination and rust-through for a specified period, but both include provisions that exclude damage caused by improper installation, adjustment, or modification.
The same applies at the component level. A Genie opener warranty covers the motor and logic board for a term of years, but a DIY repair that damages the logic board, which is the most common opener component to fail and the easiest one to damage through incorrect wiring, will not be covered. The manufacturer will ask for the model number, the serial number, and in many cases, the installation record or receipt from a professional installer. If you can’t produce it, the warranty claim dies.
This matters in Dallas because the heat and humidity here are hard on garage door components. Amarr and Clopay doors, common in Dallas subdivisions like Preston Hollow and Lake Highlands, experience more thermal cycling than doors in milder climates. Thermal cycling is what causes panel warping and seal degradation. If a panel warps and you file a warranty claim, the manufacturer’s adjuster will look for evidence that the door was professionally installed and maintained. A DIY torsion spring replacement that altered the door’s balance can be cited as the cause of the panel warp, and the claim will be denied.
Before you attempt any repair on a door or opener that’s still under warranty, pull the warranty document. Read the exclusions. Look specifically for the words “authorized service provider,” “qualified technician,” or “improper installation.” If those phrases appear, your DIY repair is not just a risk to your safety. It’s a risk to your warranty coverage on a product that may have cost you $1,200 to $3,000.
What to Do Before You Call a Professional
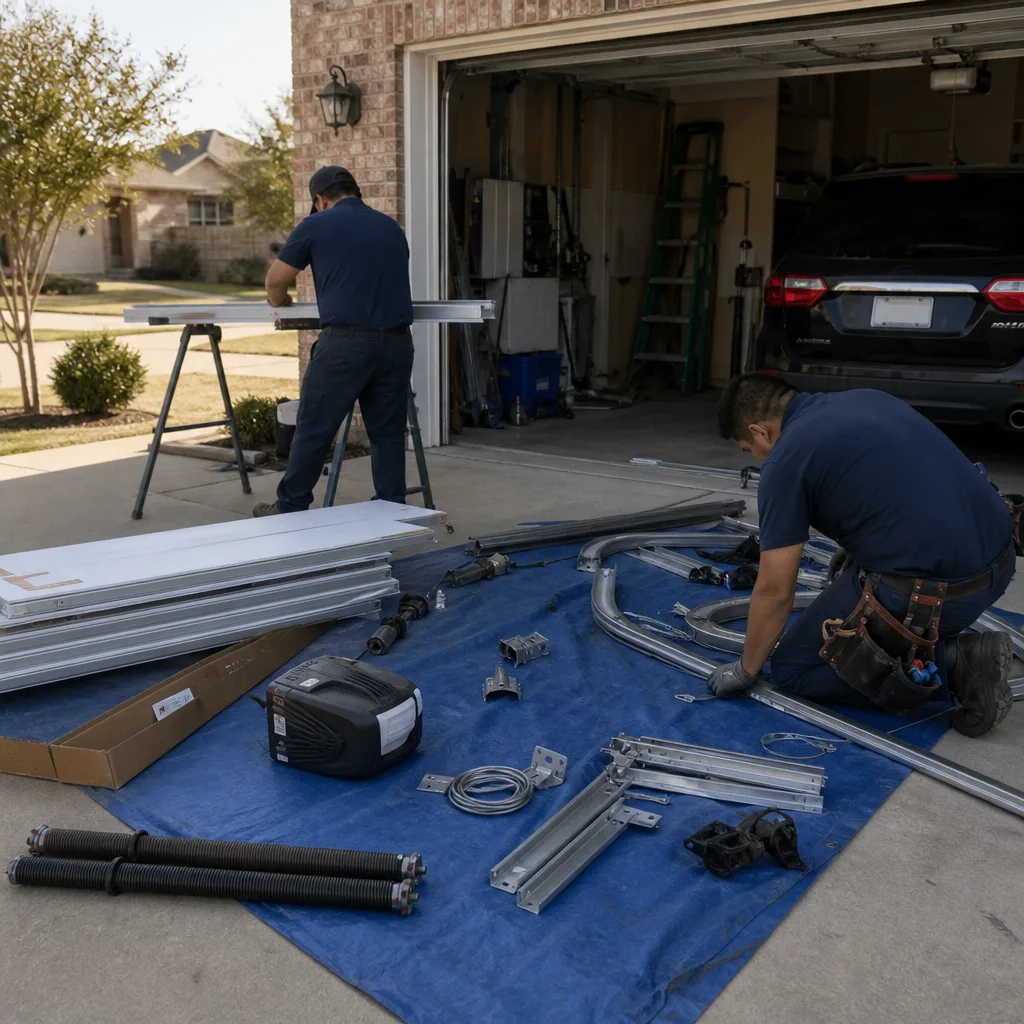
There is a legitimate middle ground between full DIY and calling a technician blind. It’s called diagnosis without disassembly, and it saves you money for this reason: a technician who arrives already knowing the symptom pattern, the door age, and the brand can carry the right parts on the truck and complete the repair in one visit instead of two.
Here is the pre-call diagnostic you can do in five minutes without touching anything under tension.
- Note the symptom precisely. Does the door close then immediately reverse? Does it open halfway and stop? Is there a loud bang followed by the opener running but the door not moving? The exact symptom narrows the diagnosis significantly. “It’s broken” tells us nothing. “It banged and now the opener just spins” tells us the spring broke and the opener’s travel module is probably still intact.
- Find the brand and model. The door brand is stamped on the inside of the bottom panel or in the center hinge. The opener brand and model are on a sticker on the motor housing. LiftMaster model numbers start with 41 or 8, Chamberlain with 45 or B, Genie with a G. Having the model number ready means we can check parts compatibility before we arrive.
- Check the obvious electrical first. Is the opener plugged into a GFCI outlet that has tripped? Is there a wall switch that powers the outlet? Older Dallas garages sometimes have a light switch that controls the opener outlet, and a flipped switch is not a door problem. It’s a switch problem, and checking it costs nothing.
- Test the manual operation. Pull the red emergency release cord and try to lift the door by hand. If it’s heavy, the springs have failed or lost tension. If it’s light and moves easily, the door hardware is likely fine and the issue is in the opener.
- Photograph everything you see. Take a photo of the spring assembly, the cables, the track, and the opener. A good photo taken at arm’s length tells a technician more than a phone description. Our Clause 4 commitment means we’ll photograph the same areas and show you what we found, but your photos help us match the diagnosis to what you saw before we touched anything.
This is the version of DIY that actually helps: not replacing parts under tension, but gathering the information that makes the professional visit faster and cheaper. And it’s the difference between a service call that takes 45 minutes and one that takes two visits.
Common Mistakes to Avoid
- Using the wrong winding bar length. A torsion spring requires two bars long enough to provide proper leverage, typically 18 inches. A screwdriver or a piece of rebar is not a winding bar. The cone will strip, the bar will slip, and the spring will release. We’ve seen this in Dallas garages across every zip code.
- Replacing a spring with one you didn’t spec. Wire diameter, inside diameter, and length all determine the spring’s torque output. Buying a “standard” spring without matching all three measurements to the old spring and the door weight is the fastest way to burn out an opener. The door will be over-sprung or under-sprung, and the opener will fail within months.
- Ignoring the safety cable on extension springs. Older Dallas homes with extension springs often have no safety cable, or the cable was removed at some point. If you’re touching those springs at all, the safety cable is not optional. A spring that breaks without it becomes a projectile that passes through drywall.
- Assuming sensor issues are always sensor issues. A door that refuses to close is often a sensor problem, yes. But it can also be a failing logic board, a misaligned track, or an over-sensitive force setting. Replacing or realigning the sensors without checking the other causes just spends money on a part you didn’t need.
- Lubricating with WD-40. WD-40 is a penetrating oil and solvent, not a lubricant. It strips the existing grease and leaves the metal dry. In Dallas, dry metal in a hot garage wears faster. Use a white lithium grease or silicone spray on hinges and springs.
- Attempting a panel replacement solo. A single-car door panel weighs 80 to 120 pounds depending on the construction. A double-car door panel can weigh over 200. Dropping a panel on yourself or bending it during a solo attempt is not a repair savings. It’s a larger repair.
When to Call a Professional
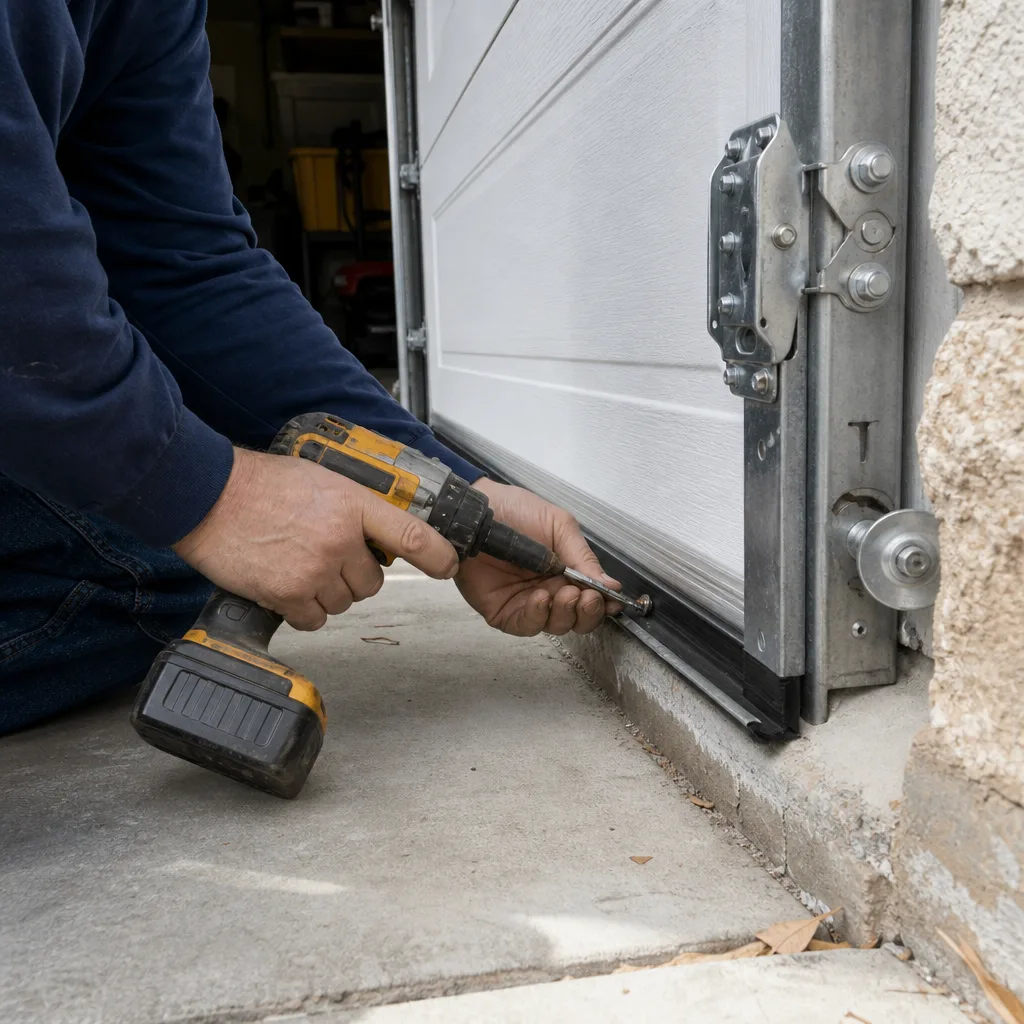
Call a professional when the component stores energy, when the failure involves the electrical circuit in an older Dallas home, or when the door is not operating smoothly after a repair you’ve already done. Specifically: broken torsion springs, frayed or snapped cables, damaged cable drums, any opener electrical diagnosis, and any panel replacement. Those are not judgment calls. They are component-level line items with mechanical and electrical stakes.
If you’re in Dallas and you’re not sure which category your door falls into, call us and describe the symptom. You’ll get a straight answer, not a sales pitch. Servo Garage Doors Dallas offers garage door installation in Dallas, repair, and opener work with a flat written price before any work begins, per Clause 1 of The Haven Standard. The estimate is free. The documentation is not optional. Call (469) 460-9039.
Frequently Asked Questions
Torsion spring replacement in Dallas typically costs between $180 and $340 including the spring and labor, depending on spring size and whether one or both springs need replacement, as detailed in our Garage Door Cost Breakdown: The Dallas Homeowner’s Reference for 2026. Extension springs run $140 to $220. We always quote a flat, written price before any work starts, so the number you agree to is the number you pay. Call (469) 460-9039 for an exact quote on your door.
You can, but the mechanical risk is not proportional to the $80 to $120 you’d save. A torsion spring under full wind stores roughly 100 foot-pounds of torque, enough to fracture bone if the winding bar slips. The repair also requires spec-matching the new spring to the old one’s wire diameter, inside diameter, and length. A wrong spring burns out the opener within months, which costs more than the spring replacement would have.
No. The written price and written scope are delivered before any work begins, per Clause 1 of The Haven Standard. If the technician finds additional work needed after starting, that work is quoted separately and requires your approval before anything else is touched. The price on the paperwork is the price you’re billed.
Yes. Our technicians stock the most common spring sizes, cables, drums, and opener parts for the eight major brands we service: LiftMaster, Chamberlain, Genie, Clopay, Amarr, Wayne Dalton, Craftsman, and Raynor. Most repair calls in Dallas are completed in one visit because the part is already on the truck.
Call us. Our phones are answered by a live person 24 hours a day, 7 days a week, including holidays. You’ll get a named technician and an on-the-way text, not a callback window. Emergency calls are dispatched as soon as a tech is available. Call (469) 460-9039.
Yes. If another Dallas garage door company has given you a written estimate, bring us the paperwork. We’ll provide a free second opinion on the work described, with no coupon or code required. If our price is different, we’ll explain why, component by component, with documentation to match.
The Bottom Line
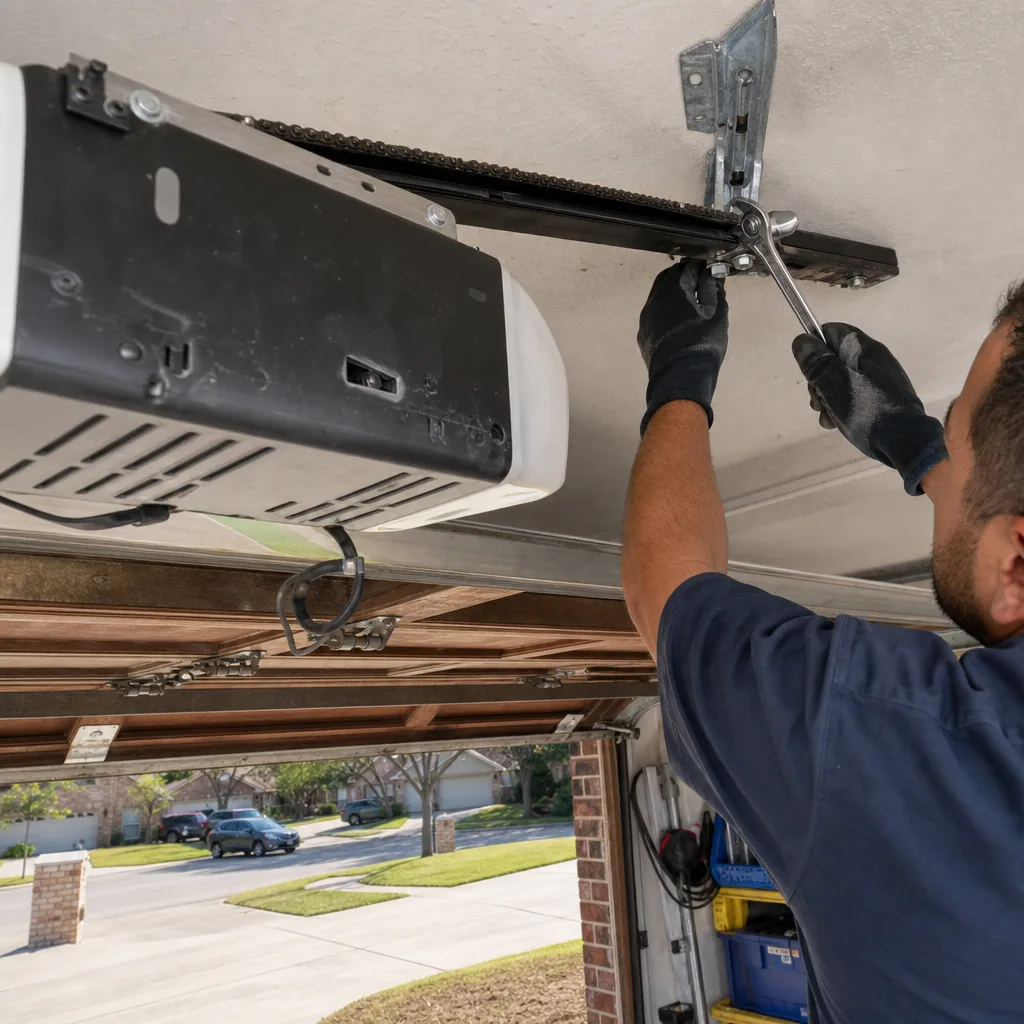
The DIY versus professional decision for a garage door is not about your competence. It’s about the component. Bottom seals, sensors, lubrication, and remote programming are legitimate homeowner tasks with low stakes and clear instructions. Torsion springs, cable drums, extension springs, and panel work carry mechanical risk that no amount of caution fully eliminates, and the savings are minimal against the potential cost of correction. In Dallas, the electrical supply in older homes adds a second layer of consideration to opener work that generic online guides miss. Gather your information before you call, make the right call on the component, and if you’re not certain, ask someone who will show you the evidence before they quote you a number.
Written by Marcus Deller, Owner at Servo Garage Doors Dallas, serving Dallas since 2015.