
Last updated September 20, 2026
Full 25-point door and opener safety check with every visit - springs, cables, rollers, tracks, and your LiftMaster or Chamberlain opener included
You get a price before we start. It does not change when the truck arrives.
 Before
 After
After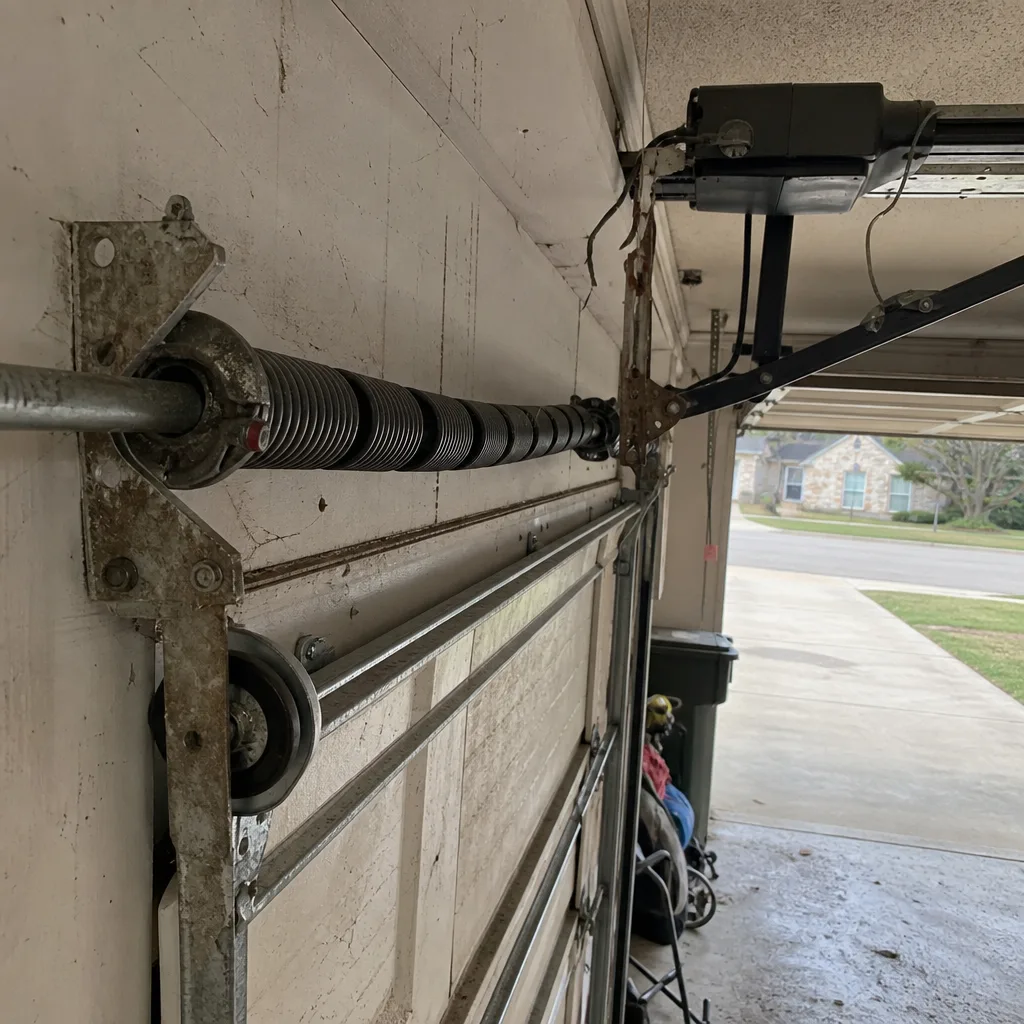 Before
 After
After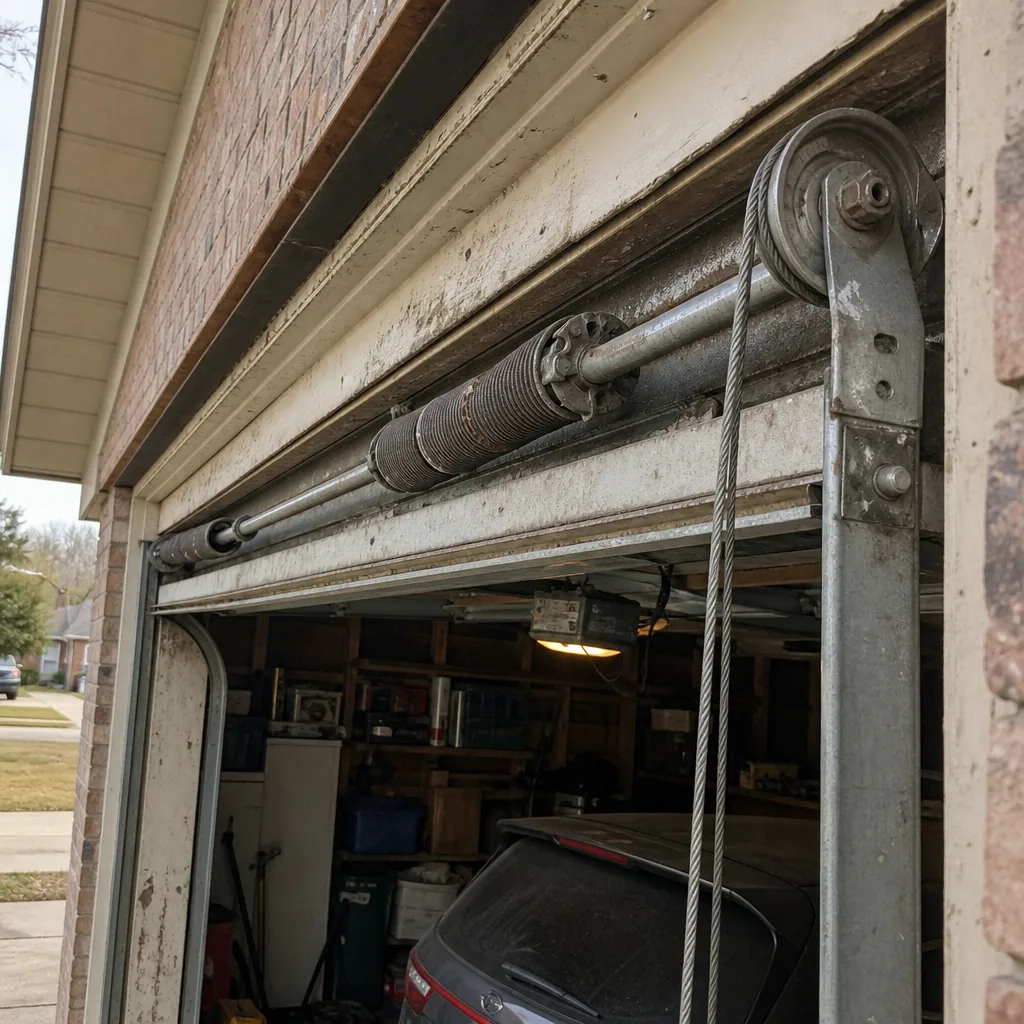 Before
 After
AfterGarage Door Repair Maintenance Checklist for Dallas Homeowners
The component that fails first on most Dallas garage doors isn’t the spring or the opener - it’s the bottom weatherseal. Exposed to 100°F asphalt radiant heat for four straight months, the average rubber seal loses its flexibility and begins cracking somewhere between year three and year five. This guide - along with our Garage Door Warning Signs: A Dallas Homeowner’s Reference Guide - is built around that reality, not a generic checklist that could have been written for Portland or Minneapolis. We’ll walk through the failure sequence Dallas doors actually follow, the exact lubricant spec that survives a Texas August, how to test spring tension without touching the spring, and what to photograph so your repair history is provable when you sell the home.
Quick Answer
A Dallas garage door maintenance checklist should prioritize the components that fail first in this climate: the bottom weatherseal (inspect twice yearly, expect replacement every 3-5 years), spring tension balance (test seasonally, call a pro if the door drifts more than a foot when released mid-travel), and roller/hinge lubrication (use a silicone-based spray rated for high heat, not white lithium grease). Most homeowners can handle the visual inspection and lubrication themselves; spring adjustment and panel replacement after hail should go to a licensed technician; our How to Hire a Garage Door Contractor in Dallas: A Step-by-Step Guide explains what to look for, ideally in one who photographs the failed part before quoting a replacement.
Table of Contents
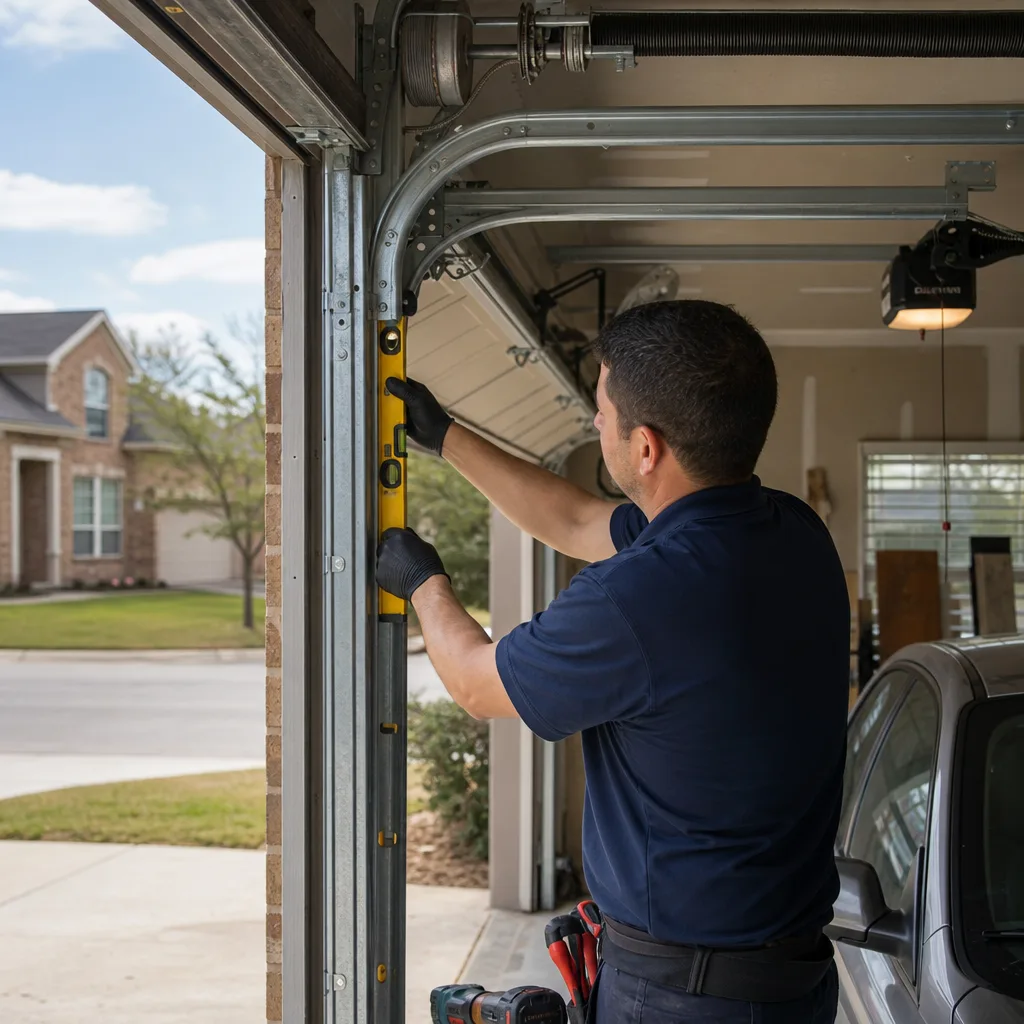
- Why Dallas Doors Fail in a Different Order
- 1. Bottom Weatherseal: The Component That Fails First
- 2. Spring Tension: The Door-Balance Test (Without Touching the Spring)
- 3. Lubrication in High Heat: What Actually Works Above 90°F
- 4. Hail-Dented Panels: When Cosmetic Becomes Structural
- 5. Rollers, Hinges, and Tracks: Listening Before Greasing
- 6. Opener Systems: Limit Switches, Logic Boards, and the Heat Factor
- 7. Documentation: What to Photograph at Every Interval
- Common Mistakes to Avoid
- When to Call a Professional
- Frequently Asked Questions
- The Bottom Line
BeforeAfterWhy Dallas Doors Fail in a Different Order
General maintenance guides treat a garage door as a uniform machine with a uniform wear pattern. That’s not what we see in Dallas. The sequence here is predictable because the climate is predictable: long stretches of 95°F-plus heat, sudden cold snaps in January, hail season from March through May, and humidity that swings from swamp to desert inside a single week. Each of those conditions attacks a different component.
Heat is the first and most aggressive. Rubber compounds used in bottom seals and weatherstripping begin losing plasticizers at around 90°F sustained exposure. In Dallas, that’s not an occasional spike - it’s May through September. The seal on a north-facing door in a shaded Plano cul-de-sac will outlast one on a west-facing door in Garland by two years or more, because radiant heat from the driveway matters more than air temperature. We’ve replaced seals on three-year-old doors that sat above light-colored concrete and looked nearly new on seven-year-old doors in full shade.
Cold snaps hit the springs. Torsion springs are rated for a cycle count, but the rate at which they accumulate fatigue depends on temperature swings. A spring that would last 10,000 cycles in a stable 70°F environment will fail sooner in Dallas, where a 20-degree January night follows an 80-degree December afternoon. The metal expands and contracts, and micro-fractures form at the coil. That’s why spring failures spike in February, not because of one cold night but because of what the previous six months did to the steel.
Hail is the wildcard. Dallas sits in a hail-prone corridor, and a panel that takes a direct hit from golf-ball-sized hail has not just a dent - it has a delamination point where the polyurethane insulation separated from the steel skin. That panel is now weaker than the ones around it. The door still operates, so the homeowner dismisses it as cosmetic. But the next wind gust that pushes against that panel is testing a compromised structure.
So the checklist below is ordered by failure probability, not by what’s easiest to inspect. Start at the bottom seal, work up through the spring system, then the rollers and tracks, and save the opener for last. That’s the order problems actually appear in Dallas.
1. Bottom Weatherseal: The Component That Fails First
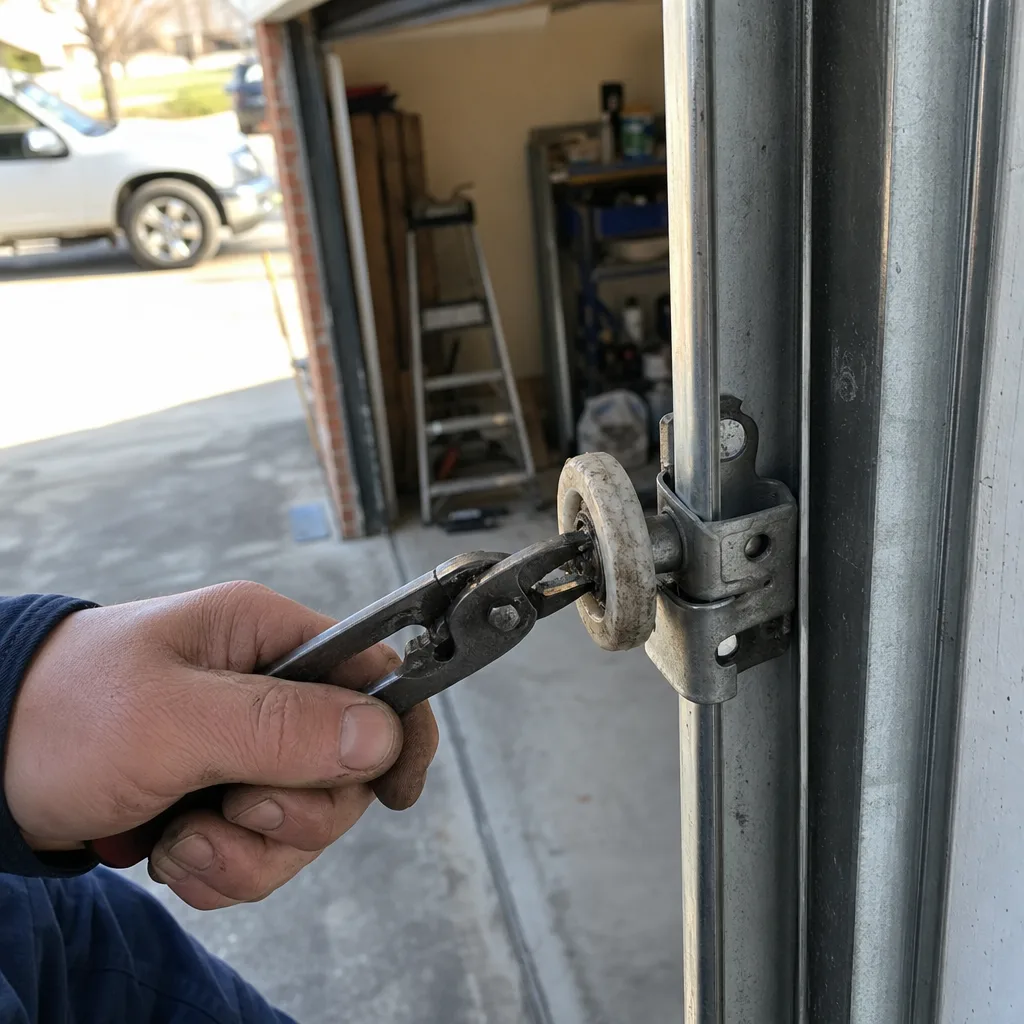
This is the cheapest part on the door and the most neglected. The bottom weatherseal is a rubber or vinyl strip that runs along the underside of the bottom panel, and it’s the only thing standing between your garage and the Dallas elements. It keeps out rain, dust, leaves, rodents, and - critically in summer - that layer of 110°F air that sits on your driveway and radiates up into the garage. When the seal goes, your garage stops being a buffer zone and starts being a heat trap, which pushes your energy bill up and stresses everything inside the garage, including the opener’s logic board.
Inspection takes thirty seconds. Stand inside the garage with the door closed on a sunny day and look along the bottom edge. If you see daylight under any portion of the door, that’s a gap. Run your hand along the seal - if it feels stiff, crusty, or cracked, it’s mostly done even if it hasn’t visibly failed. The seal should feel like a firm rubber mat, not a dried-out sponge. Pay attention to the corners and the center span; those fail first because they take the most compression when the door closes.
Replacement is a homeowner-accessible job on most doors: the old seal slides out of an aluminum retainer track, and the new one slides in. The catch is that Dallas heat means you should use an EPDM (ethylene propylene diene monomer) rubber seal, not vinyl. Vinyl is cheaper and fine in mild climates, but it hardens faster in sustained heat and loses its ability to rebound. EPDM stays flexible at higher temperatures and resists the UV that beats down on Dallas garages for 250-plus days a year. Expect to pay $15 to $40 for the seal itself depending on door width, and budget for replacement every 3 to 5 years in this climate, not the 7 to 10 years the packaging promises.
2. Spring Tension: The Door-Balance Test (Without Touching the Spring)
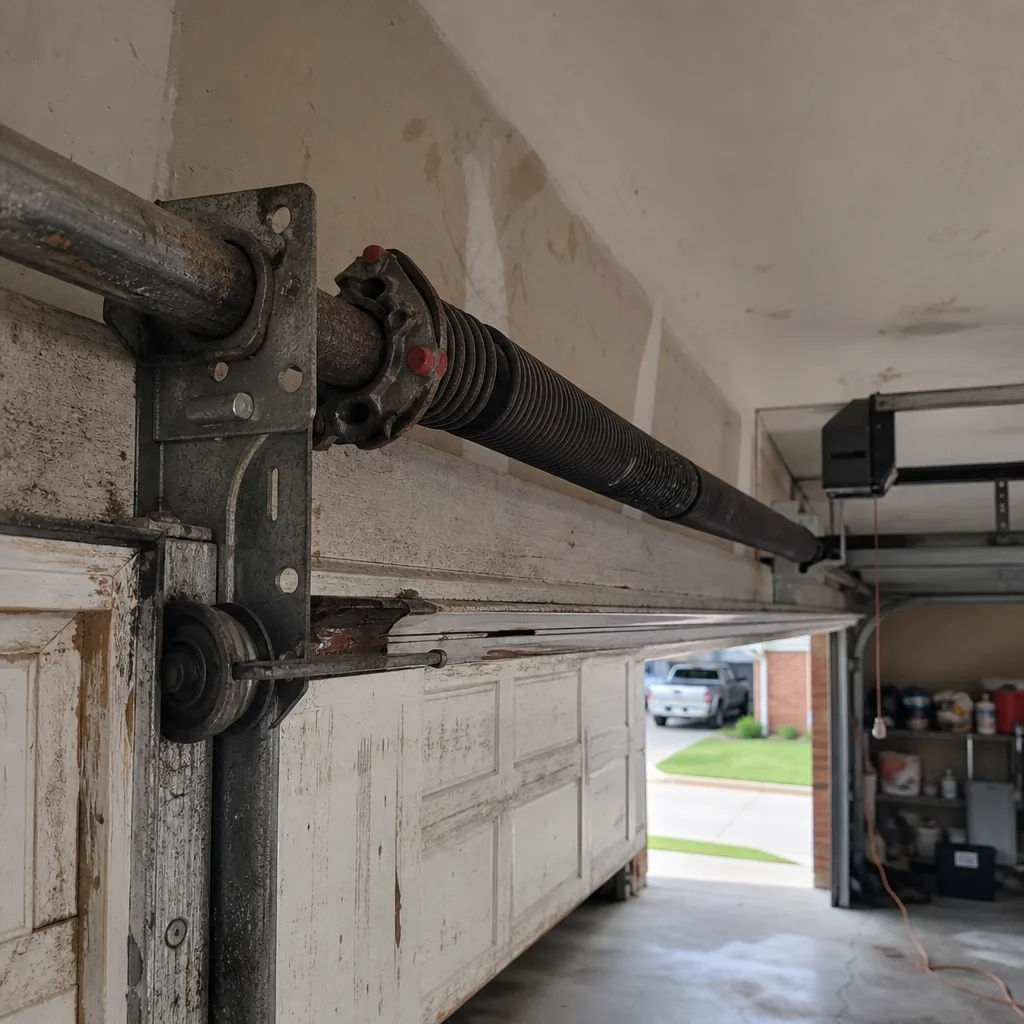
Before we get to the test, understand what the spring does. A torsion spring is a tightly wound coil mounted above the door that stores the energy needed to lift a 150-to-250-pound panel. When it’s properly balanced, the door should feel nearly weightless to lift by hand. When it’s not, the opener motor is doing the work the spring should be doing, which shortens the opener’s life by years and makes a spring failure unpredictable. A spring that’s about to let go often gives off subtle signs first: a door that hangs unevenly, a noticeable imbalance between left and right side, or a thunk when the door reverses direction.
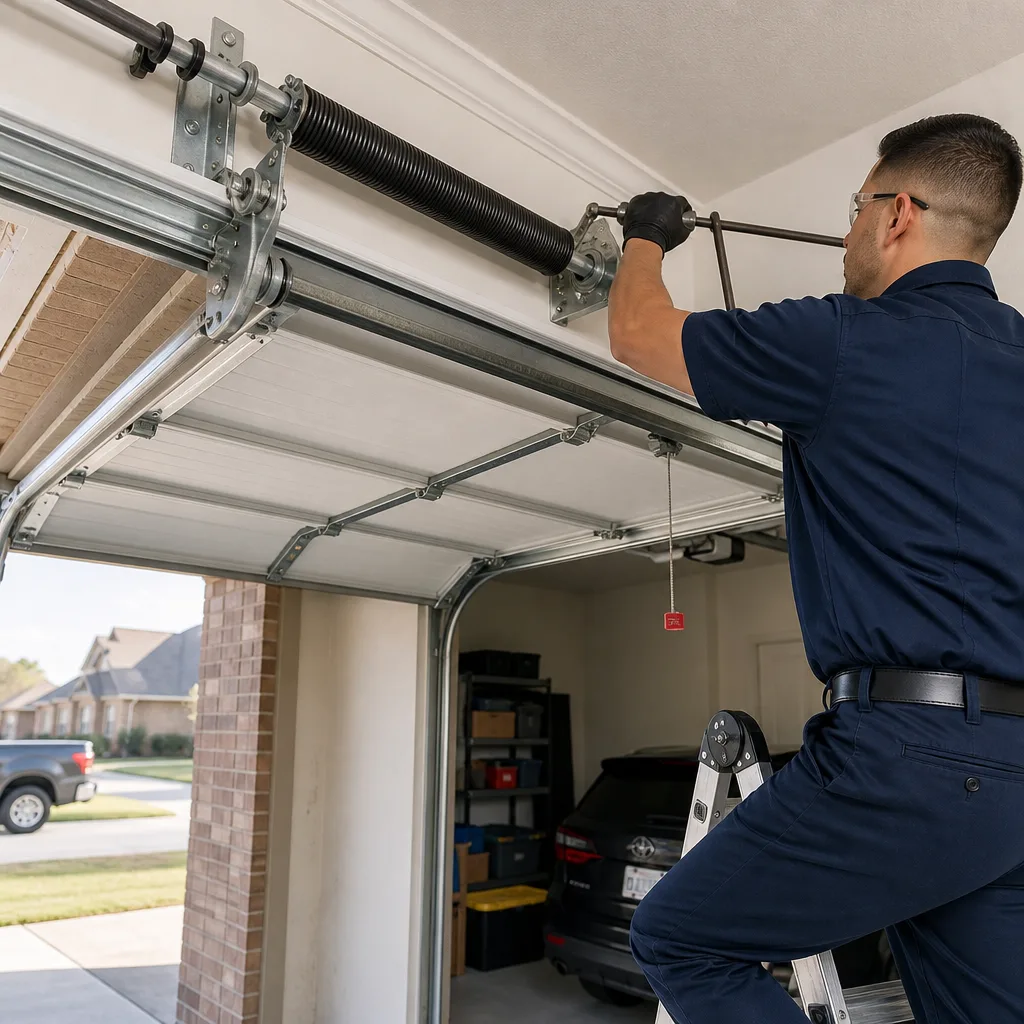
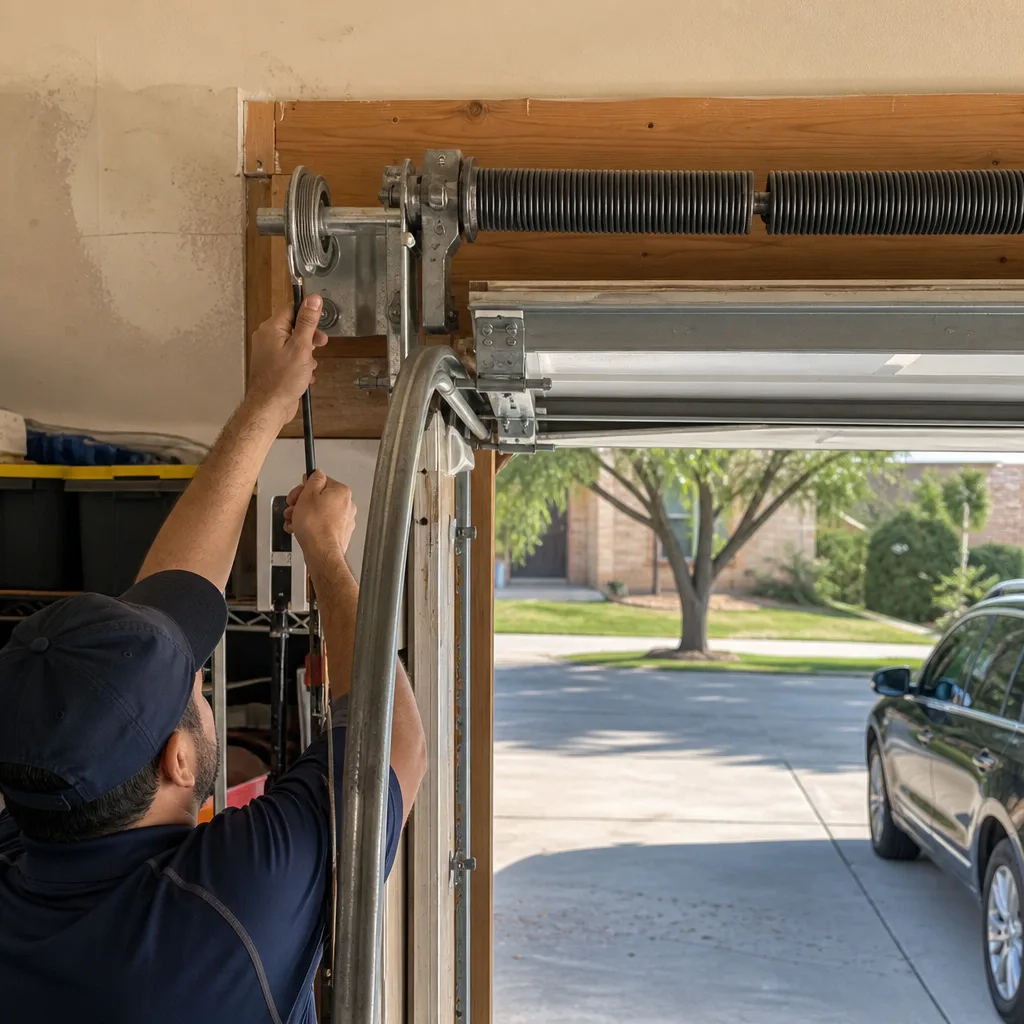
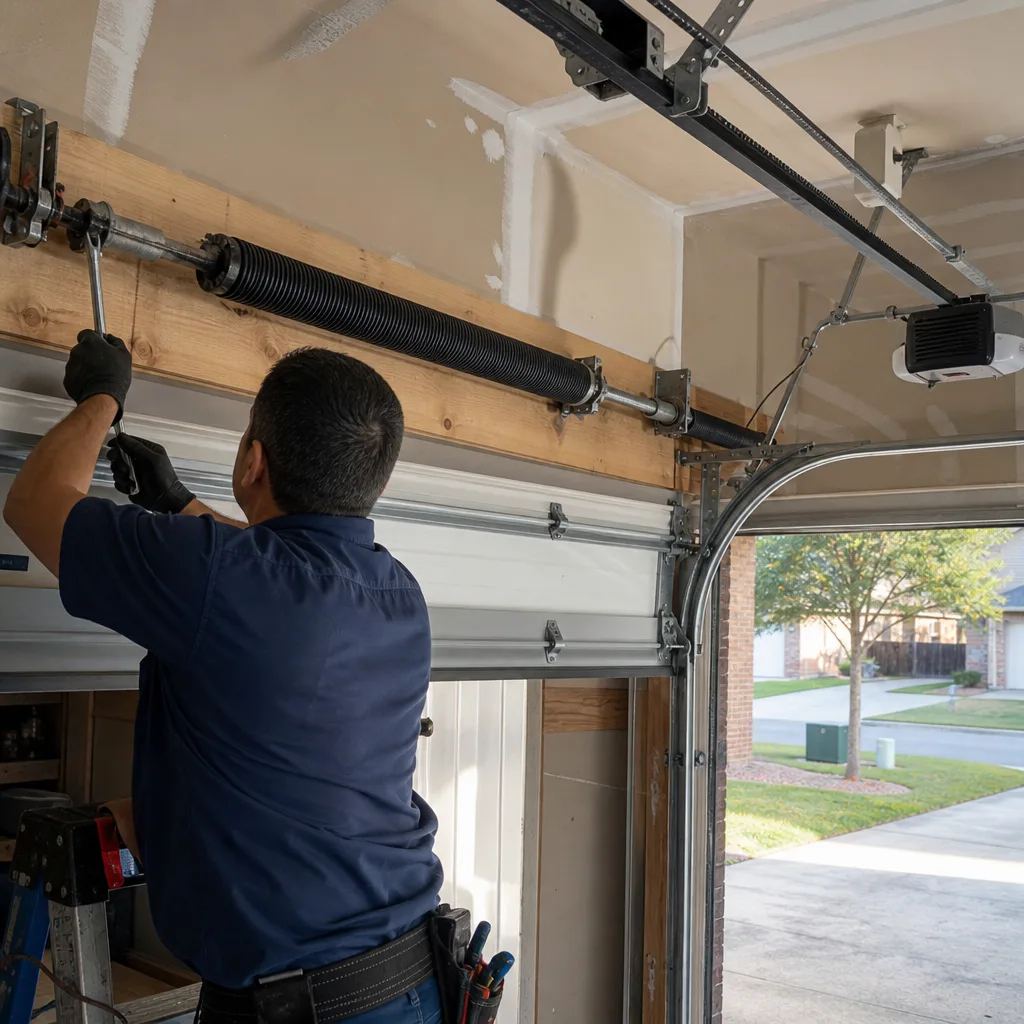
The door-balance test is how you check tension without ever touching the spring itself - which you should never do. Torsion springs are under enough load to break bone and cause serious injury, and there is no safe way to adjust one without a winding bar, the correct technique, and experience reading spring wear. The test takes under a minute:
- Close the door completely.
- Pull the red emergency release handle hanging from the opener rail. This disconnects the door from the opener carriage.
- Grab the door handle and lift it manually to about waist height, then let go.
- Observe what the door does.
Pass: The door stays roughly where you released it, or drifts slowly in one direction by an inch or two. That means the spring is counterbalancing the door’s weight correctly.
Fail: The door drifts down more than a foot, or it shoots upward on its own. A door that falls means the spring has lost tension and is undercompensating - the spring is fatiguing and the door is becoming a dead weight that the opener is fighting. A door that flies up means the spring is over-tensioned, which is less common but just as dangerous, because that stored energy is trying to release somewhere.
Either fail condition is a call to a technician. Do not attempt spring adjustment yourself. In Dallas, where spring fatigue accelerates from heat cycling, this test should be done at the start of spring and again at the start of fall. We’ve seen doors in Richardson and Mesquite pass this test in March and snap a spring by July, because the rate of wear is not linear here.
3. Lubrication in High Heat: What Actually Works Above 90°F
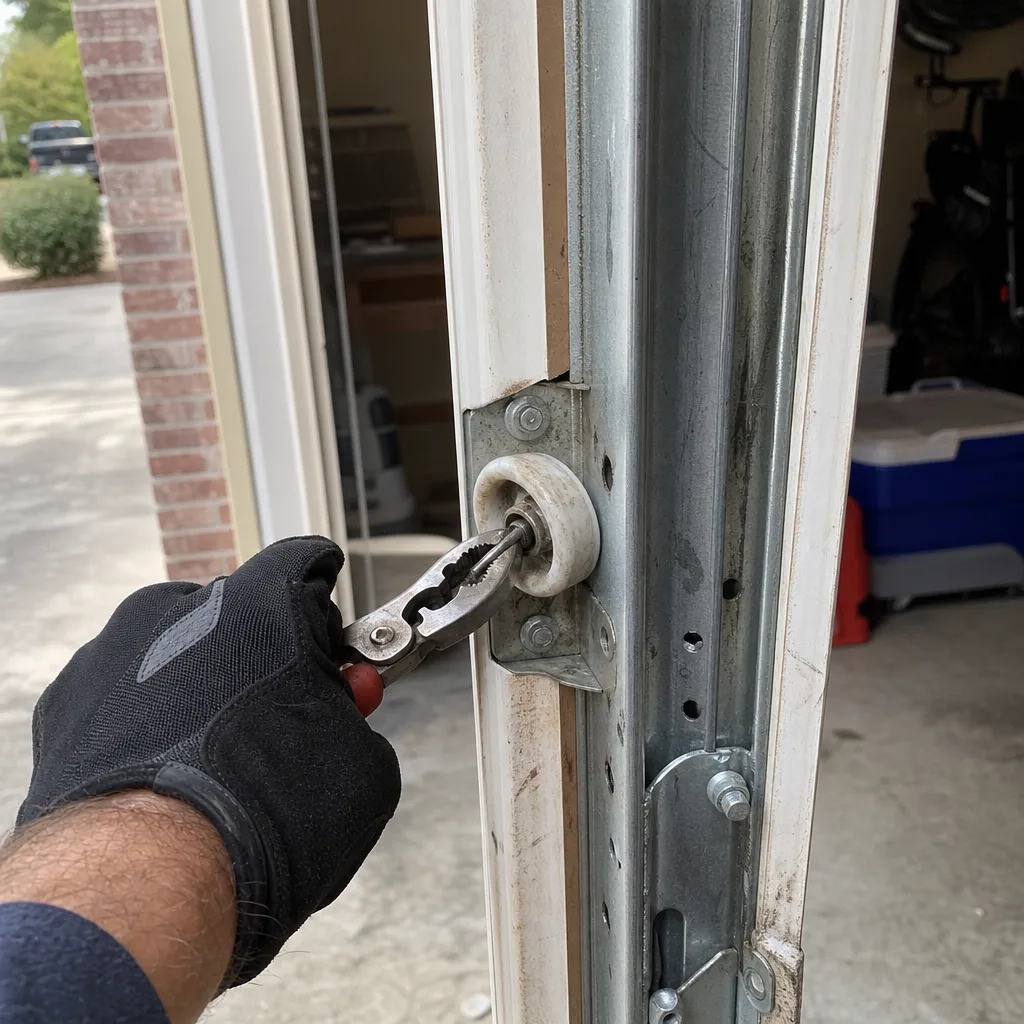
The biggest lubrication mistake Dallas homeowners make is buying the same white lithium grease their father used in Ohio. Here’s the problem: white lithium grease is a soap-based thickener that liquefies and runs off bearing surfaces once temperatures climb past about 90°F. You apply it on a Saturday in March, and by June it’s dripped down onto the door panels and collected dust into a paste that does more harm than good. In Dallas, this is not theoretical. It’s what we find on rollers and hinges every summer: dried white residue and parts running dry.
The correct lubricant for this climate is a silicone-based spray lubricant, specifically one rated for high temperatures and formulated for garage door use. You want a dry-film silicone, not a penetrating oil, not a heavy grease. Look for a product that lists working temperature range on the can - if it doesn’t list one, assume it’s not suited for a Dallas garage in August. A product like Blaster’s garage door lubricant or 3M’s silicone spray works because silicone’s viscosity doesn’t collapse when the ambient temperature in the garage hits 110°F. It coats the surface, sets to a dry film, and stays there.
Application is specific, not generous. More is not better. You’re lubricating only the moving contact points:
- Hinge pivots - one quick shot per hinge, four to six hinges depending on door height
- Rollers - only if they have unsealed ball bearings; sealed nylon rollers are maintenance-free and should not be sprayed
- The torsion spring itself - a light coat along the length of the coil to prevent surface rust, applied while the door is closed
- The opener rail - if it’s a screw-drive or chain-drive unit; belt-drive rails get nothing
Do not lubricate the track. This is the most repeated bad advice in garage door maintenance, and it’s worth stating plainly: the track is not a lubrication surface. Rollers roll inside the track, they don’t slide along it, and grease in the track just collects dust and grime, which grinds down the roller bearings and causes the door to run rougher. If your door is noisy and you’ve been greasing the tracks, stop, wipe the tracks clean with a dry cloth, and lubricate only the points listed above. Frequency should be seasonal in Dallas: twice a year, at the beginning of summer and the start of winter.
4. Hail-Dented Panels: When Cosmetic Becomes Structural
Hail season in Dallas runs from roughly March through May, and a significant storm can leave hundreds of small dents across a garage door while leaving the rest of the home untouched. The insurance adjuster will often classify it as cosmetic and offer a small payout. In some cases, that’s fair. In others, it’s missing a structural problem that will show up later.
Here’s what to look for when you’re deciding whether a dented panel is a repair item or a replacement item. First, assess the dent pattern. Small, shallow dents spread evenly across the panel surface, with no sharp creases, are generally cosmetic. The steel skin has been dimpled but the panel’s rib structure underneath is intact. The door will look ugly but remain structurally sound.
Second, look for sharp creases or folded metal. A dent that left a visible fold line, especially if it crosses from the flat surface of the panel into the rib, has created a stress riser. That’s a line where the steel is now thinner and weaker. When the door bends during normal operation - and it does bend, slightly, every time it opens and closes - that crease is where fatigue will eventually crack the skin. We’ve seen panels that took a hail hit in April and split open the following March, not from another hail storm, but from the accumulated flexing of ten months of normal operation.
Third, check the panel from inside the garage. Run your palm across the inside surface of any visibly dented area. If you feel a soft spot, or if pressing gently causes the panel to flex more than the surrounding area, the polyurethane or polystyrene core has delaminated from the steel skin. That panel has lost its rigidity and is doing less work holding the door square. A door with one delaminated panel will eventually warp, which throws off the track alignment and puts uneven load on the springs.
If you see creases, cracks, or flex on the inside, treat it as a structural issue and get it evaluated. If you’re anywhere in Dallas and want a second opinion, our Garage Door Repair in Dallas service includes a written assessment with photos - you don’t have to take anyone’s word for whether a panel is safe.
5. Rollers, Hinges, and Tracks: Listening Before Greasing
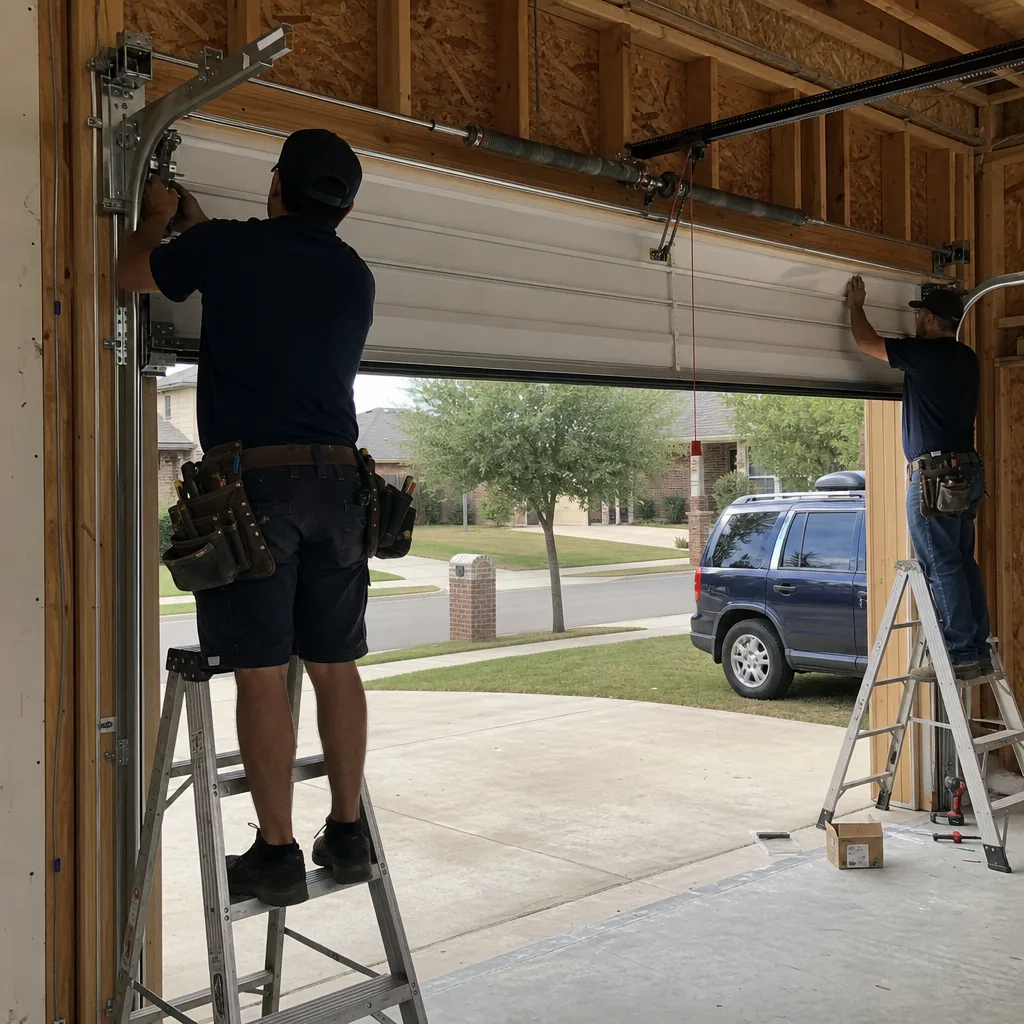
Most people reach for the spray can the moment the door gets noisy. That’s the wrong order. Noise is diagnostic information, and lubricating first throws it away. A garage door that’s running correctly should be quiet enough that you can hear the opener motor over the sound of the door itself. If you’re hearing grinding, rattling, or squealing, each sound points to a different problem and none of them are solved by blindly greasing the track.
Here’s how to read the sounds:
- Squealing or metallic scraping at one specific point - that’s a roller with a seized or worn bearing. The roller isn’t rolling anymore, it’s sliding inside the track, and that’s tearing up both the roller and the track. Replace the roller; lubrication won’t un-seize a bearing.
- Grinding across the whole travel - that’s usually multiple worn rollers or an accumulation of dust and grime in the tracks. Clean first with a dry rag, then assess. If the rollers have flat spots or wobble when you spin them by hand, they’re done.
- Loose rattling when the door moves - that’s usually hinge wear. The hinge rivets have loosened over thousands of cycles and the sections are shifting against each other. This is common on doors in Dallas homes that were installed in the 2000s, the rivet-and-stamped-steel era. A worn hinge can be tightened or replaced inexpensively, but if left, it transfers that play into the panel itself and the problem migrates to the door structure.
- Popping or binding at the same spot every cycle - that’s a track alignment issue. You’ll often see a shine mark or a groove worn into the inside of the track where the roller is hanging up. This usually means the track bracket has shifted, either from a door strike or from normal settling of the wall it’s mounted to.
The inspection here is simple: with the door closed, grab each roller stem and try to wiggle it. A roller with good bearings will feel tight. You should be able to spin the roller wheel freely but not move it side to side in the track. Then check every hinge for play - lift the door slightly by hand to take tension off and see if any hinge pivots are sloppy. Finally, look at the track brackets and make sure they’re tight to the wall, with no visible gap or lag.
For rollers that are worn in Dallas’s heat and dust conditions, the upgrade that makes the most sense is a nylon roller with sealed ball bearings. They cost a few dollars more than stamped-steel rollers but run significantly quieter and don’t require lubrication, which matters when the alternative is lubricating every three months to keep steel rollers from howling.
6. Opener Systems: Limit Switches, Logic Boards, and the Heat Factor
The garage door opener is the most electronically vulnerable component in your garage, and Dallas heat is its biggest enemy. Every opener on the market - LiftMaster, Chamberlain, Genie, and the rest - shares the same architectural weakness: a logic board mounted inside a metal housing attached to the hottest wall of the garage. When the garage interior hits 120°F in August, the board inside that housing is running hotter. Electronics that run hot fail earlier.
We see this in the failure pattern. Opener failures in Dallas cluster in late summer and early fall, after two solid months of high ambient temperatures have done their damage to capacitors and solder joints. A logic board that fails in a 75°F garage might have lasted another five years. In a Dallas garage, it’s on borrowed time from the day it’s installed.
The maintenance tasks here are mostly visual and behavioral:
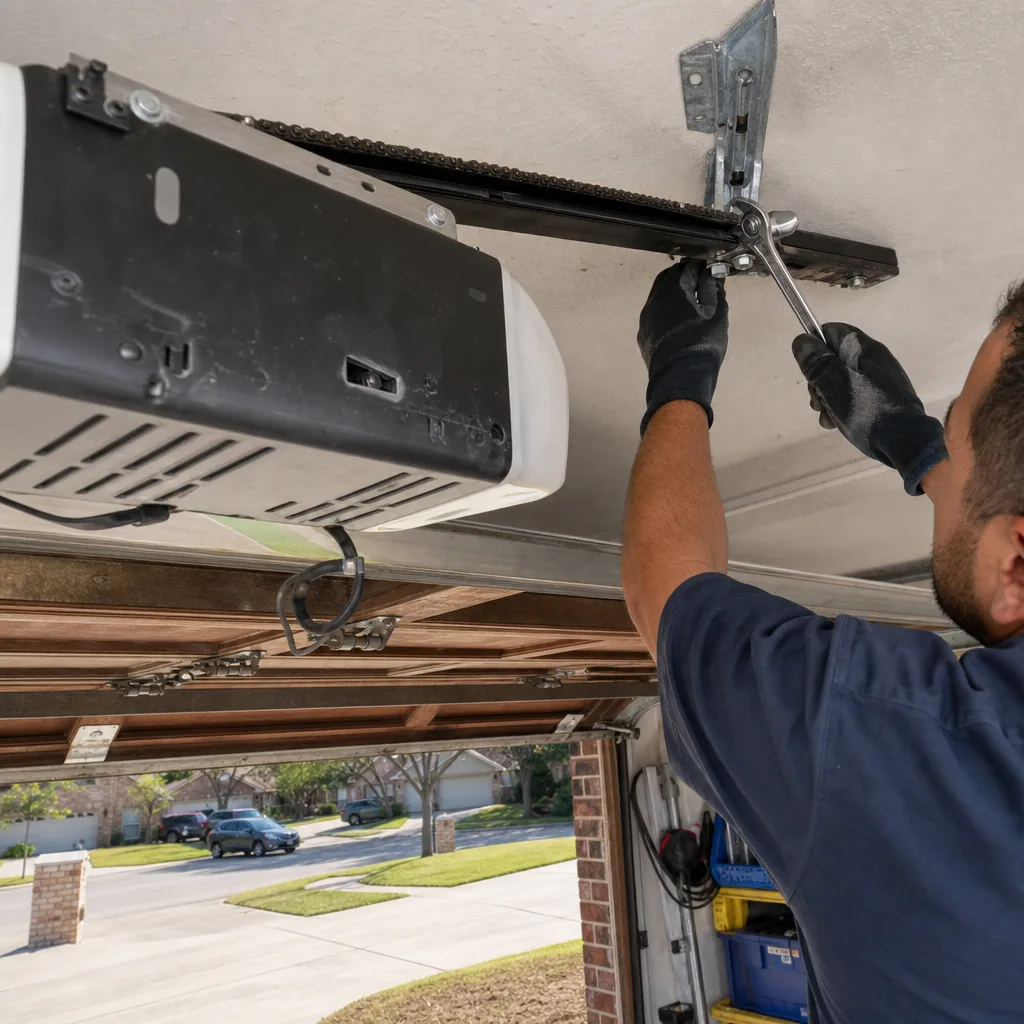
- Watch the limit switches. These are the small mechanical or electronic stops that tell the opener where the door’s full-open and full-closed positions are. If your door starts slamming down hard when it closes, or stops short of the ground and then reverses, the limit switch has drifted. On newer openers (roughly 2015 and later from LiftMaster or Chamberlain), this is adjusted in the mobile app. On older units, it’s a small screw on the opener body. The fix is a two-minute job, and it matters because a door that closes too hard is hammering the bottom seal and the panel rivets every single time.
- Check the safety sensors. The two small photo-eye units mounted near the floor on either side of the door opening. They should have steady lights when aligned. If one is blinking, it’s misaligned or blocked. Wipe the lenses with a dry cloth - Dallas dust and pollen will build a film on them over a season. A door that won’t close or that reverses for no reason is often a dirty or misaligned sensor.
- Listen to the opener during operation. A healthy opener on a balanced door runs with a steady, even sound. If it’s laboring, straining, or the pitch changes, the opener is compensating for a mechanical problem elsewhere - usually a failing spring or worn rollers. Openers don’t get tired on their own. If the motor sounds different than it did six months ago, something mechanical has changed.
- Check the battery backup, if you have one. Many LiftMaster and Chamberlain units from 2017 onward ship with a battery backup for power-outage operation. These batteries last 3 to 5 years, and if yours is older, it’s providing false confidence. There’s usually a test button on the unit. The middle of thunderstorm season is not when you want to discover the battery died two years ago.
Full opener replacement, installation of a new unit, or anything involving the wiring should go to a professional. Our Garage Door Opener Repair and Installation in Dallas team handles everything from a new logic board to a full swap to a belt-drive LiftMaster, and every job includes a written price before work starts.
7. Documentation: What to Photograph at Every Interval
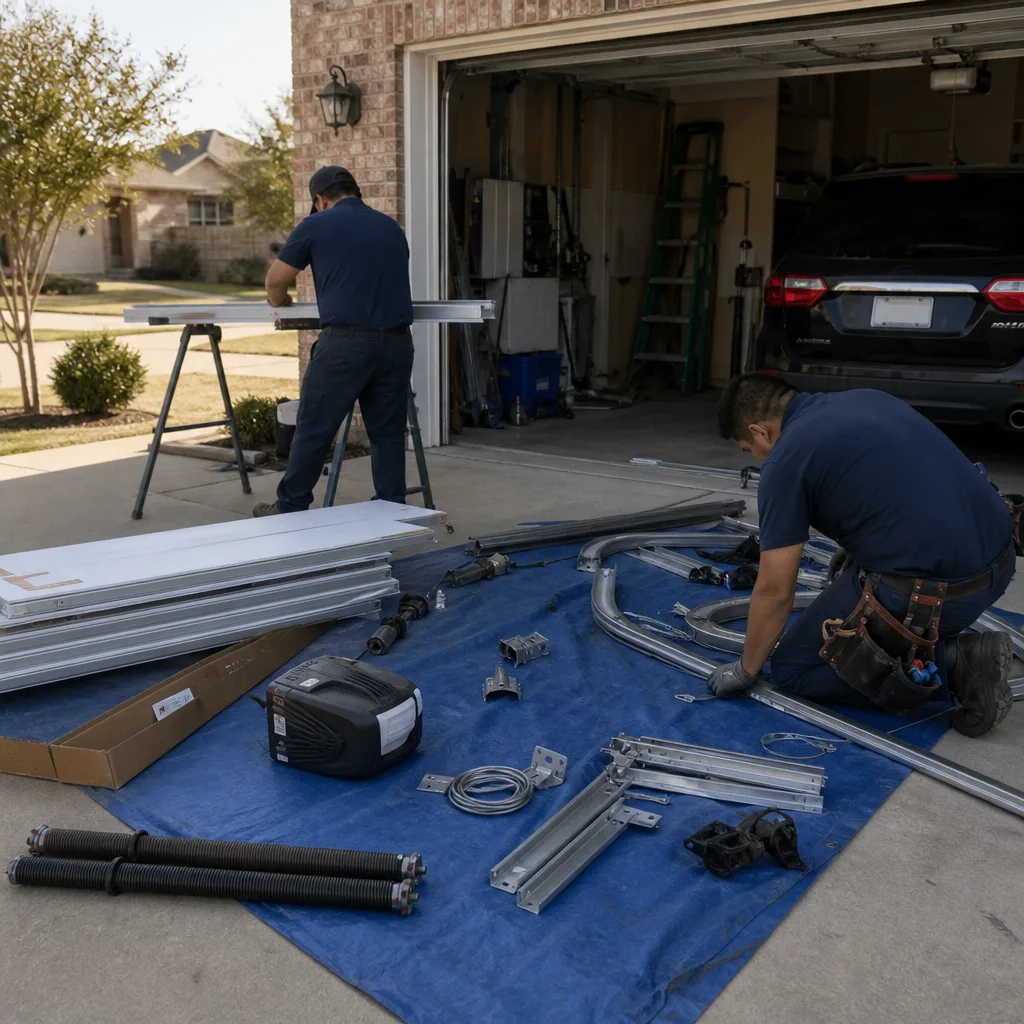
This is the habit that separates a well-maintained door from a provably well-maintained door. When you sell a Dallas home, the buyer’s inspector will look at the garage door for about ninety seconds and write “garage door appears serviceable” or “garage door shows wear.” If you have a documented maintenance record with photos, that line changes the conversation. You’re not claiming anything. You’re showing.
Here’s what to photograph and record at each seasonal check:
- Date and time stamp on every photo. Use your phone’s timestamp. The sequence is the evidence.
- The bottom seal, from inside, at floor level. Capture any light gaps, cracking, or compression flattening. When you replace the seal, photograph the old one next to the new one before installation.
- The spring system. A photo of the torsion spring showing the entire coil length. If there’s surface rust, catch it in the photo. If the spring snaps later, you’ll have a visual baseline showing when the deterioration was first visible.
- Each roller and hinge, close enough to read the condition. It doesn’t need to be professional photography; it needs to show bearing wear, flat spots, or loose rivets.
- The inside face of the bottom panel, especially after hail season. Even if the outside looks dented but otherwise fine, a photo of the inside surface showing no delamination is evidence the panel is structurally intact.
- Any repair or replacement invoice. File it with the photos. Model numbers, part numbers, and the date go into the filename or a note alongside.
After four years, you’ll have eight dated checkpoints showing that the door was inspected, lubricated with the correct product, and that worn parts were replaced. That’s worth more at closing than any verbal assurance. It’s also how we operate on every job: this is the principle behind the documented photo record Servo has included on every visit since 2015. Clause 4 of The Haven Standard says the failed part gets photographed before a replacement is quoted. The homeowner sees the same photo the technician saw, and the decision is made from evidence, not from a sales pitch.
Common Mistakes to Avoid
- Lubricating the tracks. Tracks are not a lubrication surface, and greasing them just collects dust that grinds down rollers and creates drag. Wipe tracks clean; lubricate only hinge pivots, open-bearing rollers, the spring, and the opener rail if it’s chain or screw drive.
- Using white lithium grease in Dallas heat. It liquefies above 90°F and runs off the parts you applied it to. Switch to a high-temperature silicone spray and reapply twice a year in this climate.
- Testing spring balance once a year and calling it good. Dallas heat accelerates spring fatigue, and a spring can pass in March and fail by August. Test seasonally, and if the door drifts more than a foot when released mid-travel, call before the spring goes.
- Ignoring a hail-dented panel because it’s “just cosmetic.” A sharp crease or delaminated core is a structural problem that gets worse with every open-and-close cycle. When in doubt, get a written assessment with photos.
- Not replacing the bottom seal until you can see daylight under the door. By the time the gap is visible, the seal has been failing for months. A stiff, cracked seal is a failed seal, even if it still looks intact from across the room.
- Relying on a battery backup that’s five years old. Garage door opener backup batteries fade quietly. Test yours today, and replace it on a schedule, not when the power goes out and you find out the hard way.
- Adjusting a torsion spring without the right tools and experience. This is the one maintenance mistake that can put someone in the hospital. A torsion spring under load carries enough force to break bone. If the balance test fails, call a technician. It’s not worth the risk.
When to Call a Professional
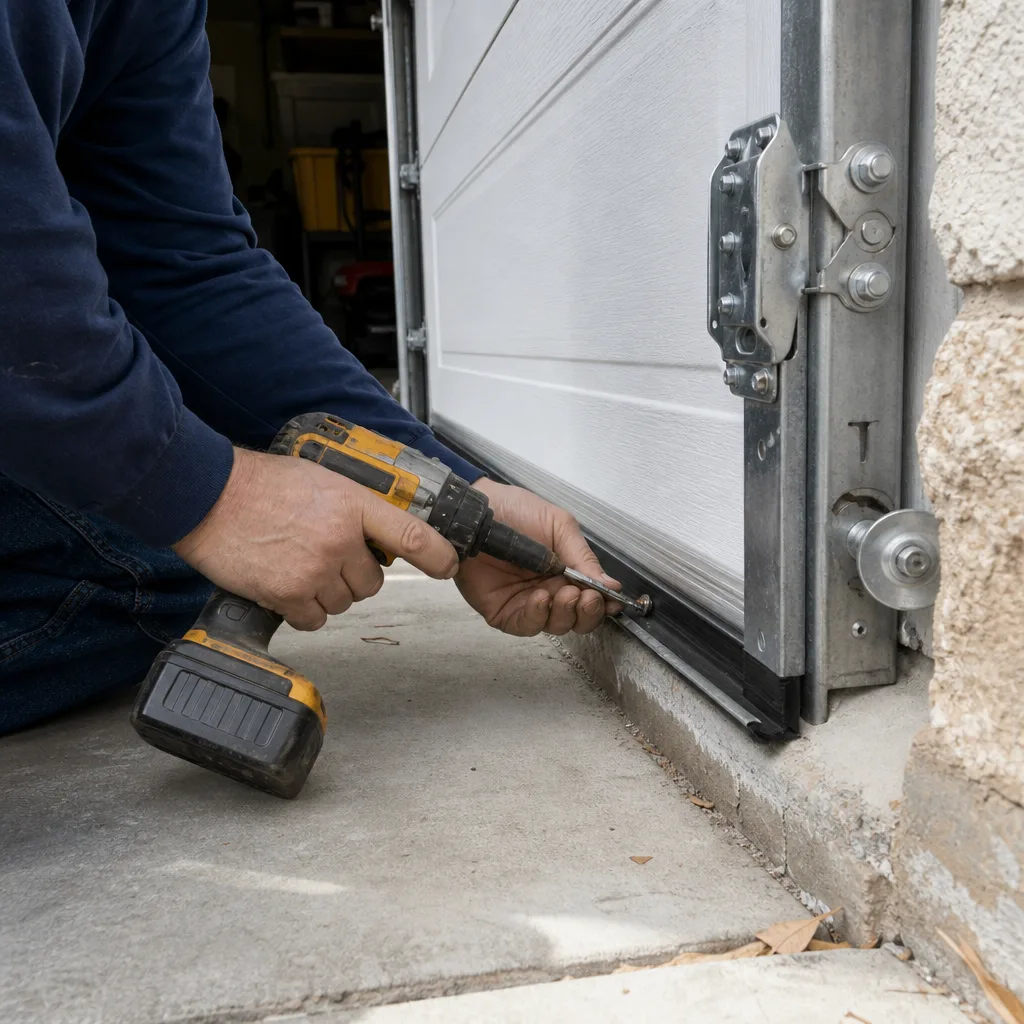
Some maintenance tasks are homeowner work: inspecting the seal, testing the balance, lubricating hinges, cleaning sensor lenses, photographing the springs. Others are not. If the balance test fails, call a professional - spring adjustment requires winding bars and the training to use them safely. If a panel has a sharp crease or a soft spot on the inside after hail, call a professional - panel replacement is not a one-person job and the alignment matters. If the opener is making noise it didn’t make last season, or if the door is binding in the tracks, call our Garage Door Repair services before a small problem becomes a door that won’t open on a Monday morning. Servo Garage Doors Dallas offers free estimates in Dallas - call (469) 460-9039 and you’ll get a flat, written price and written scope before any work starts. That’s not a sales promise; it’s how the documentation system works.
Frequently Asked Questions
Twice a year is the right cadence for this climate - once at the start of summer (April to May, before the sustained heat) and once at the start of winter (October to November, after the summer’s thermal damage but before the cold snaps). Each check should take about 30 minutes and cover the seal, spring balance, hinge and roller condition, sensor alignment, and opener sound.
A DIY maintenance pass costs under $50: a high-temperature silicone spray runs $10 to $15, a replacement EPDM bottom seal is $15 to $40 depending on door width, and replacement rollers are $3 to $8 each. If you hire a professional for a full tune-up in Dallas, expect $80 to $150 for the inspection, lubrication, and adjustment of non-spring components, with spring work priced separately. Call (469) 460-9039 for an exact quote - estimates are free and the price you’re quoted is the price you pay.
Yes, on most doors this is a straightforward slide-out, slide-in job that takes about 20 minutes. The key is buying the right material for Dallas: EPDM rubber, not vinyl. Vinyl seals harden faster in sustained heat and will crack sooner. The old seal pulls out of the aluminum retainer track at the bottom of the door, and the new one slides in. If the retainer itself is bent or corroded, that’s when you’d call a professional, because a damaged retainer will tear the new seal within months.
Use a silicone-based spray lubricant rated for high temperatures - ideally one with a listed working range that includes 100°F-plus on the can. White lithium grease is a poor choice in Dallas because it thins and runs off at temperatures above about 90°F. Apply the silicone spray to hinge pivots, unsealed rollers, the torsion spring, and a chain or screw-drive opener rail. Do not lubricate the tracks.
Run the door-balance test: pull the red emergency release, manually lift the door to waist height, and let go. If it stays put or drifts slowly, the spring is holding tension. If it falls more than a foot, or if it shoots upward, the spring is failing and should be replaced before it breaks. Other warning signs are a door that hangs unevenly, a visible gap in the spring coil, or a loud bang during operation - that last one means the spring already failed. Call (469) 460-9039 and you’ll get a written assessment with photos.
Yes. Every estimate is free, and every quote is delivered as a flat, written price with a written scope of work before any repair begins. That’s Clause 1 of The Haven Standard, and it means the number on the page is the number you’ll see on the invoice. No hourly rates that drift upward, no surprise line items.
The Bottom Line
A Dallas garage door doesn’t need more maintenance than a door anywhere else - it needs the right maintenance, in the right order, at the right times of year. Start with the bottom seal, because that’s what fails first here. Test the spring balance seasonally, and treat a drift of more than a foot as a problem that won’t fix itself. Use silicone spray rated for heat, never white lithium, and keep it off the tracks. After hail, check the inside of the panels, not just the outside. And photograph everything - the record you build over four years is leverage when you sell, and documentation is the only evidence that survives a negotiation. For more guides & resources or a free estimate in Dallas, call (469) 460-9039 - you’ll get a written price and a documented photo record, the same way it’s been done since 2015.
Written by Marcus Deller, Owner at Servo Garage Doors Dallas, serving Dallas since 2015.