
Last updated September 20, 2026
Full 25-point door and opener safety check with every visit - springs, cables, rollers, tracks, and your LiftMaster or Chamberlain opener included
You get a price before we start. It does not change when the truck arrives.
 Before
 After
After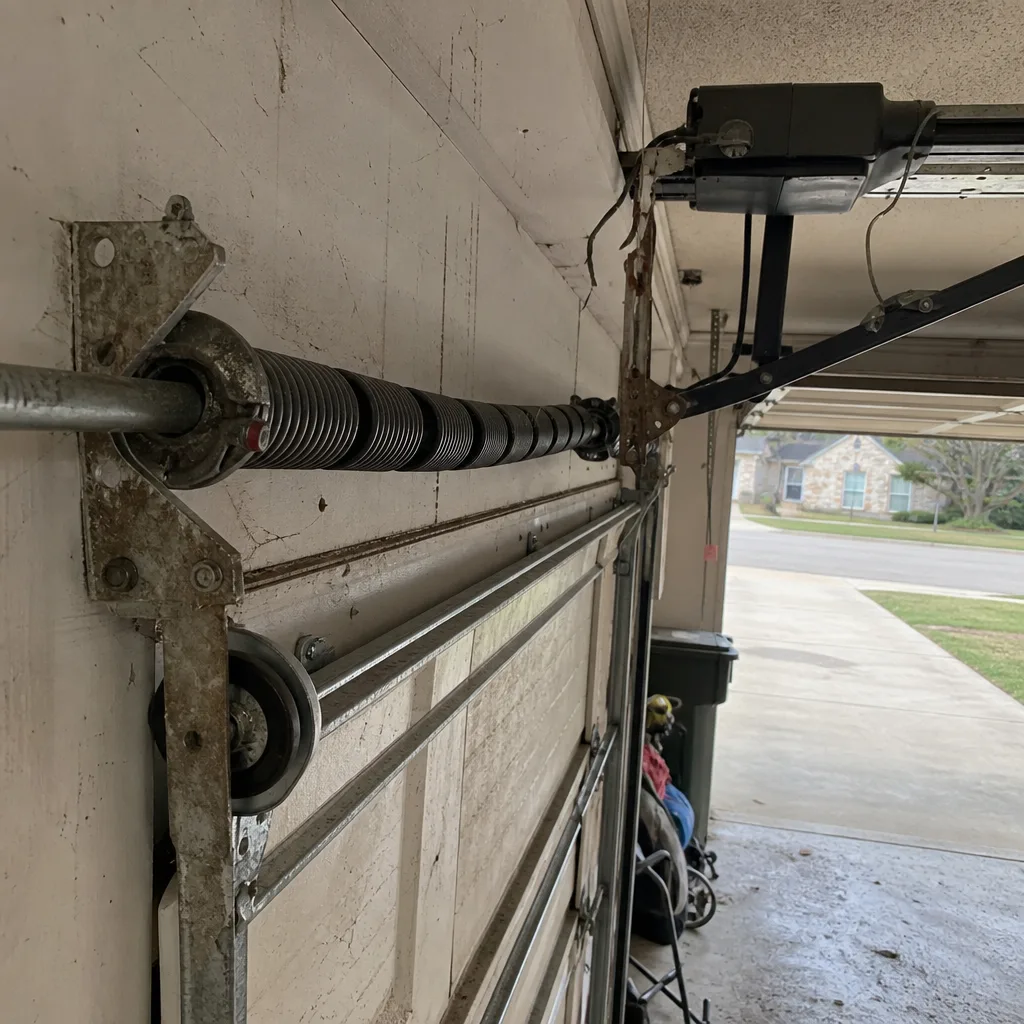 Before
 After
After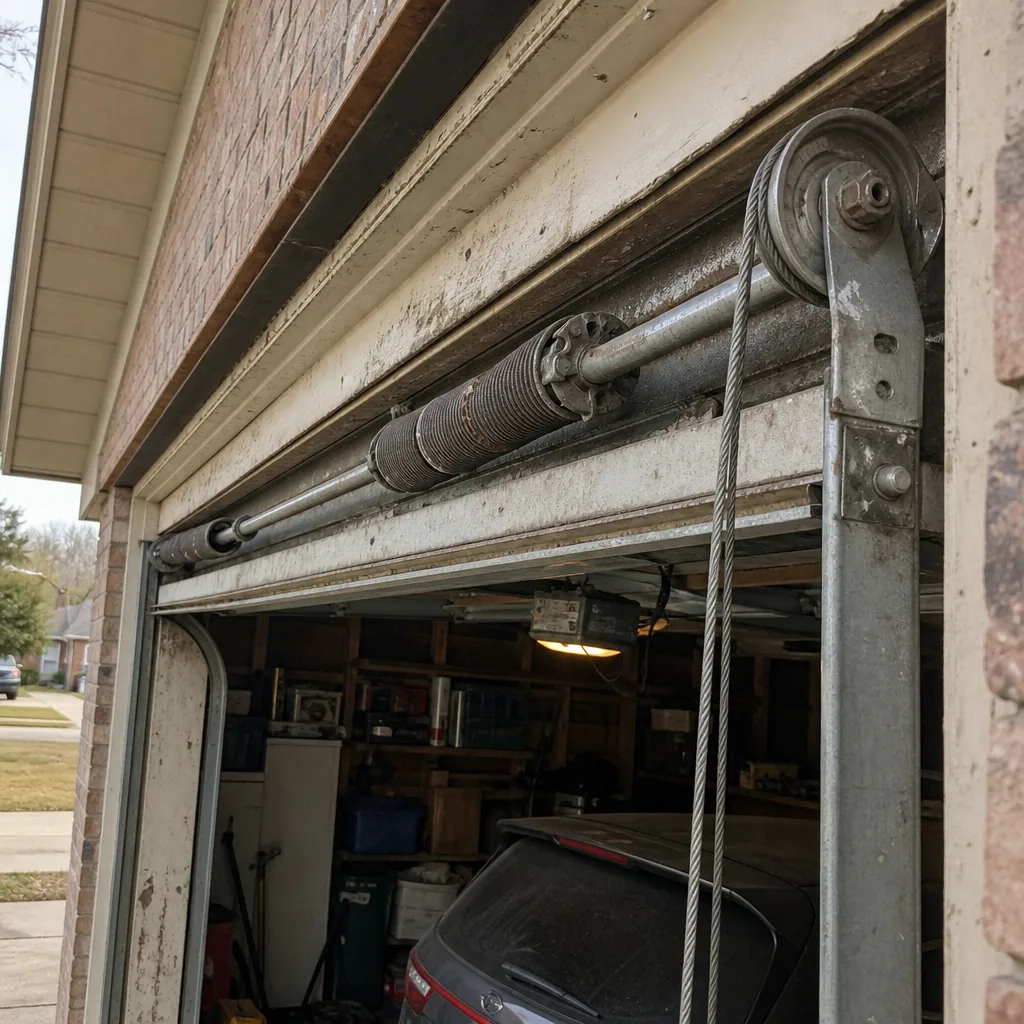 Before
 After
AfterGarage Door Warning Signs: A Dallas Homeowner’s Reference Guide
Most garage door warning guides read like a list of complaints: it’s loud, it’s slow, it won’t open. By the time you notice those, the component has already failed. That’s reactive, and in a Dallas July, reactive means standing in a driveway at 2 p.m. with a door that won’t budge and a car trapped inside. The warnings that actually matter show up months earlier, in quieter ways: a one-second hesitation, a half-inch gap at the floor, a cable that looks slightly looser than its twin. This guide is built around those leading indicators, written by a Dallas garage door company that documents every failed part before quoting a replacement. For a broader look at garage door systems in the area, see The Complete Guide to Garage Door in Dallas. You won’t find hype here. You’ll find measurements, thresholds, and what to photograph before you ever pick up a phone.
Quick Answer
The most reliable garage door warning signs in Dallas are measurable, not just noticeable: uneven gaps under a closed door, slack in one lift cable, a hesitation or hum before movement, flat spots on rollers, and rust bloom on torsion springs. If any of these appear, photograph them with a timestamp and have the system inspected; a scheduled repair in April costs less than an emergency call in August.
Table of Contents
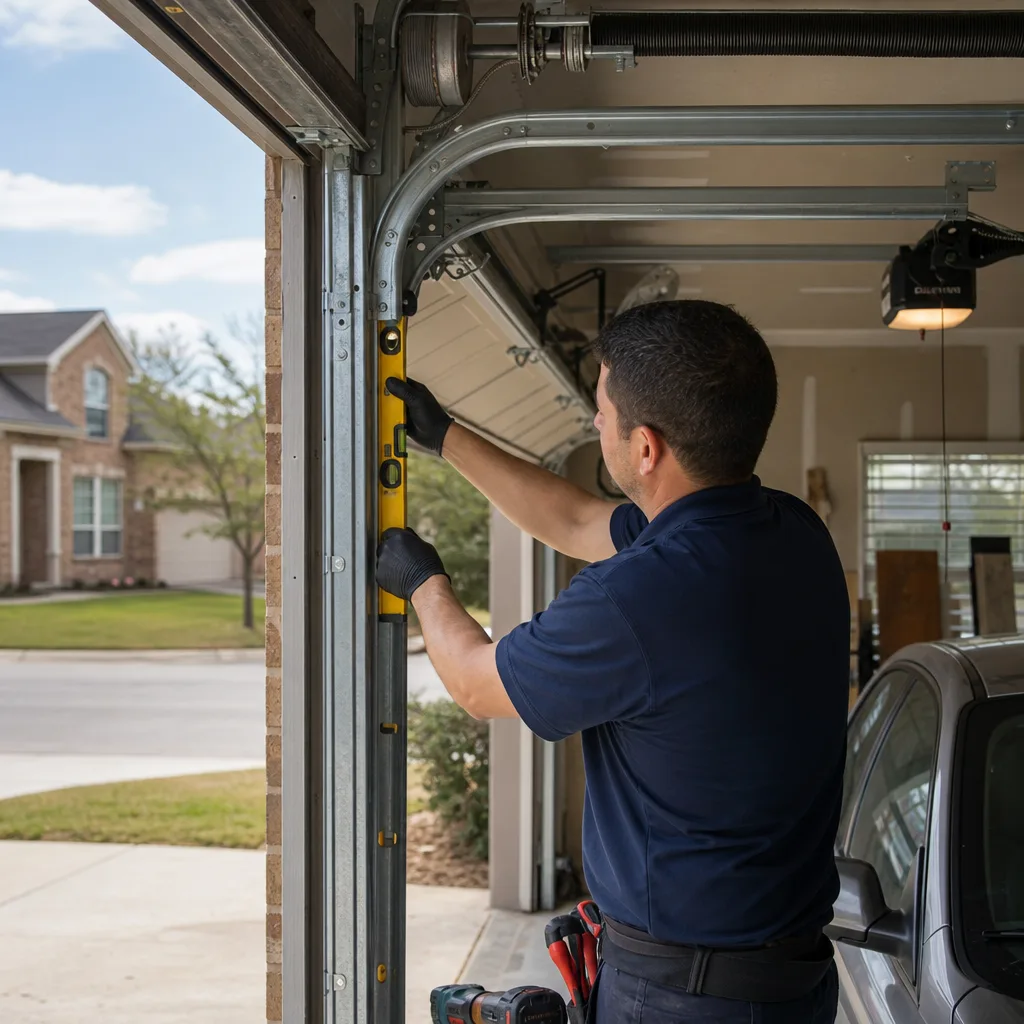
- Leading vs. Lagging Indicators: Why Timing Matters
- Spring Fatigue: Measuring Wear Before the Fracture
- Roller Wear Patterns: What Flat Spots and Wobble Predict
- Opener Strain: Current Draw and the Hesitation Test
- Cable Symptoms: Slack, Fraying, and Other Red Flags
- Documentation Protocol: What to Photograph and When
- Seasonal Factors: What Dallas Heat and Humidity Do to Door Components
BeforeAfterLeading vs. Lagging Indicators: Why Timing Matters
A lagging indicator tells you something already broke. The door won’t open, the spring snapped, the opener motor burned out. A leading indicator tells you a component is degrading before failure. It shows up as a change in measurement or behavior that you can observe six to twelve weeks before the part gives out. The difference matters because of what it costs you: a torsion spring replacement scheduled as a repair runs a predictable $180 to $340 in the Dallas market, while the emergency version of the same job, on a Sunday night in a heat wave, runs higher and involves more of your time. We have yet to see a lagging indicator that didn’t have a leading indicator attached to it first. The problem is that most homeowners don’t know which changes are meaningful, so they wait until the lagging symptom announces itself.
Think of it this way: a door that fails suddenly at 7 a.m. on a workday has been failing quietly for six weeks. The cable was losing tension. The spring was losing wind. The roller was wearing a flat spot. None of that required a technician to diagnose in the early stages, only a homeowner willing to look at the same parts and compare them over time. This guide is structured around the checks you can do yourself, without special tools, and without touching anything under tension.
What to Watch for First
- Uneven gap at the floor: with the door closed, run your eye along the bottom seal where it meets the concrete. A gap on one side only, even a quarter inch, means a spring imbalance or a cable slipping on its drum.
- Asymmetric movement during travel: watch the door as it rises and falls. If one side leads or lags by even half a second, something on that side is binding or carrying more load.
- Hesitation at startup: a one-second pause before movement after pressing the opener button may be motor capacitor degradation, not normal warmup. More on this below.
- Sound changes at the same spot in the cycle: a rhythmic tick, scrape, or harmonic that wasn’t there three months ago corresponds to a physical wear point, not a mood.
Dallas homeowners have an advantage here. The soil under much of the city, especially in the clay-heavy areas east of White Rock Lake and down through Mesquite, shifts with moisture cycles. Foundation movement changes the geometry of the garage opening, which changes door alignment, which accelerates roller and track wear. If you own a home in East Dallas or the Casa View area, and you know your foundation is on expansive clay, treat the gap at the floor and any new noise as things to document monthly rather than ignore.
Spring Fatigue: Measuring Wear Before the Fracture
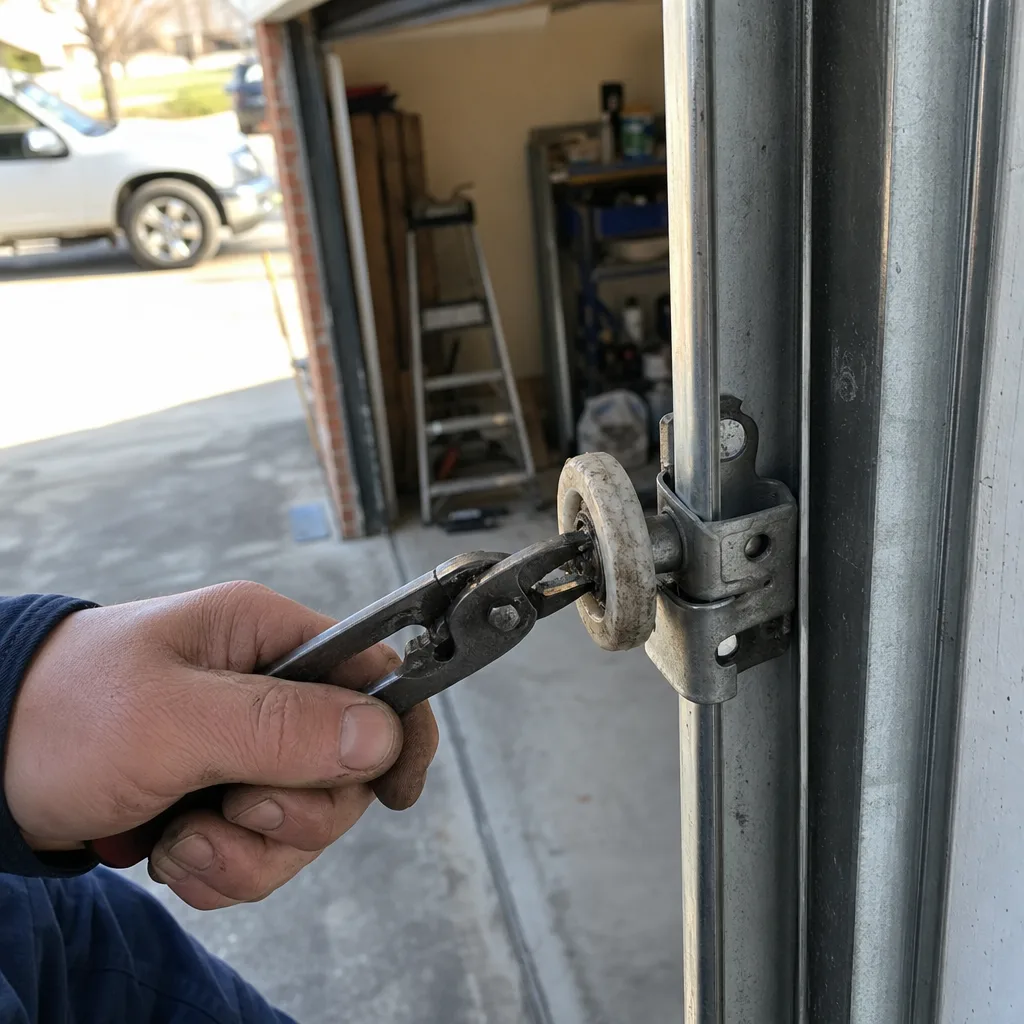
A torsion spring is a coiled steel spring mounted on a horizontal shaft above the door opening. Its job is to store the mechanical energy that lifts the heavy door. Extension springs are the older design, two springs that stretch along the horizontal track. Both have a finite cycle life, typically rated to 10,000 cycles. The average Dallas household cycles the door four to five times a day, which adds up to roughly 1,800 cycles a year. A 10,000-cycle spring should last about five and a half years. Many builder-grade springs are rated for fewer cycles than that.
The fracture itself is dramatic and loud, often described as a gunshot inside the garage. The weeks before the fracture are quieter. Here is what to look for, and how to quantify it.
For Torsion Springs: Rust Bloom and Coil Separation
- Take a photo of the spring. It sits on the shaft directly above the closed door, in the center. Stand inside the garage and aim your phone toward the wall above the door. You’ll see the spring wrapped around the shaft.
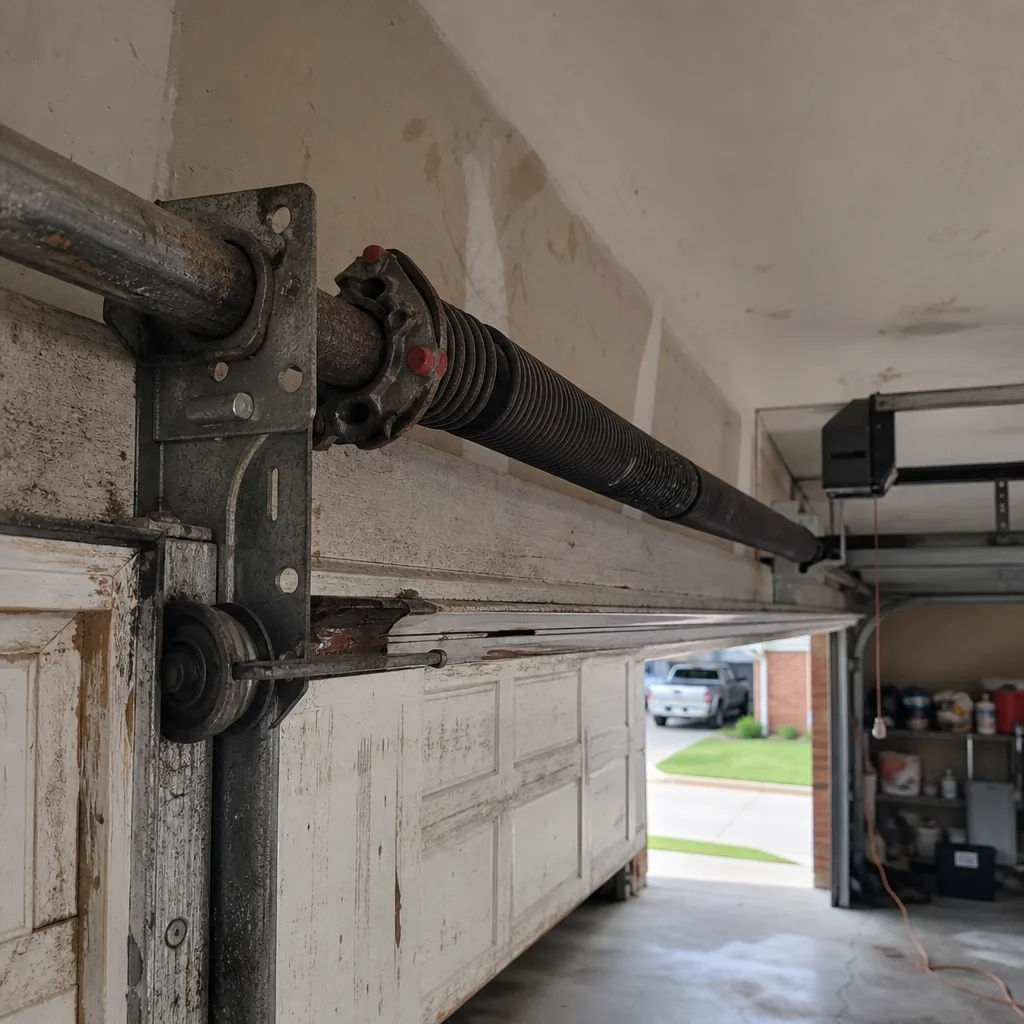
- Look at the finish. Factory torsion springs have an oil coating that protects the steel. Once that coating is gone, the surface rusts. In Dallas, with our humidity swings from April through October, that rust appears faster than in drier climates. Rust is an indicator of coating failure, not immediate spring failure, but it accelerates fatigue cracking.
- Look at the gaps between coils. A spring in good condition has a consistent spacing between coils. Fatigue shows up as uneven gaps, where some coils touch or nearly touch while others are farther apart. That means the spring has lost some of its original set and is not distributing stress evenly anymore.
- Look at the ends of the spring. The set screws and the winding cone are where most fractures begin. Check the last coil at each end for hairline cracks. You won’t always see them, but if you do, the spring is done.
We have replaced torsion springs in Dallas homes where the homeowner noticed a noise like ‘grains of sand dropping’ when the door moved. That was rust flaking off the spring coating, and it preceded the fracture by about six weeks. If you hear something that sounds like sand falling onto the top of the door, look up. Photograph the spring. It’s a tell.
The Unspoken Spring Symptom: Loss of Lifting Force
A torsion spring loses power as it fatigues, before it breaks. You can measure this indirectly. Disconnect the opener from the door using the emergency release handle, usually a red cord hanging from the opener rail. With the door disconnected, lift it manually. A properly balanced door should stay in place when you lift it to chest height. A door that slowly creeps down, or requires real muscle to lift, is telling you the spring has lost significant lifting force. That means it’s in fatigue, not just age. Write down the date you performed this test. Do it again in six weeks. If the door is harder to lift the second time, schedule the spring replacement before it decides when to break.
What this costs in Dallas today: torsion spring replacement runs $180 to $340 for a standard door, including parts and labor, with the price fixed in writing before work starts. The emergency version of the same repair on a July night can push the upper end higher. Measuring the decline costs nothing.
Roller Wear Patterns: What Flat Spots and Wobble Predict
Rollers are the wheels that carry the door along the vertical and horizontal tracks. Dallas homes built or renovated in the last fifteen years usually have nylon-roller doors, sometimes with sealed ball bearings, sometimes not. Older homes may still have steel rollers without bearings. The failure mode is different for each type, and each failure mode predicts a different problem.
Three Wear Patterns and What They Mean
- Flat spots on the roller wheel. This happens when a roller stops rolling and starts sliding. The door applies friction to one spot on the wheel until it grinds flat. The cause is usually bearing failure or a roller stem that’s binding in its hinge. A flat-spotted roller sends vibration through the door and accelerates track wear. You’ll feel it as a consistent bump at the same point in the cycle. Replace the roller before it damages the track.
- Cracked or cratered nylon. Nylon rollers crack at the rim when they’re exposed to heat cycling over years, especially in uninsulated Dallas garages where ambient temperature swings are wide. A cracked roller still rolls today. It won’t roll next spring, because the crack will propagate and the rim will come apart. This is a scheduled replacement, not a crisis.
- Stem wobble. The stem is the metal axle that holds the roller to the hinge. Wobble here means the stem is loose in the hinge, or the hinge itself is worn. If you watch the roller as the door moves, the wheel may track slightly out of plane, like a bicycle wheel that needs truing. Stem wobble will eventually let the roller hop out of the track entirely, which is a door-off-track call.
- Close the door.
- Stand inside the garage and look at the two bottom rollers, one on each side of the door, at floor level.
- Run a finger over the wheel surface. Feel for flat spots or cracks. Do not put your hand on the track opening, just the face of the wheel.
- Grip the roller wheel and try to move it side to side along the axis of the stem. More than a few millimeters of play means the bearing or the stem is worn.
- Repeat for the top rollers, which usually wear fastest because they carry the most load when the door travels through the curve of the track.
- Slack in one cable when the door is down. Both cables should have similar tension at all times. A visibly looser cable on one side, especially when the door is fully closed, says the cable is beginning to climb off its drum or the drum has shifted. This is the top leading indicator of an off-track door.
- Frayed strands. Look near where the cable attaches to the bottom bracket. That anchor point is the highest-stress section of cable because it carries the full door weight at the moment of lift. Fraying there is a countdown, not a cosmetic issue.
- Rust on the cable. Dallas humidity will rust an unprotected cable, and rusted cables lose tensile strength. Once rust is visible, the cable has already lost capacity.
- Uneven wrap on the drum. With the door down, look at the drum at each end of the spring shaft. Both drums should have roughly the same amount of cable wrapped on them. Five wraps on one side and four on the other tells you the door is not tracking level.
- Kinking or a rough section. A cable that has jumped a groove and been forced back will often show a permanent kink, which is a structural weak point. A kink in steel cable is not recoverable. It has to be replaced.
- The full closed door from inside the garage. Stand back and frame the entire door, including the gap where it meets the floor. This photo catches alignment drift and bottom-gap changes.
- The spring shaft and both springs. Aim at the center of the shaft above the door. Get the whole spring in frame. This photo tracks rust bloom and coil gap changes.
- Each lift cable. Two photos, one per side. Include the bottom bracket where the cable anchors and as much of the cable as you can frame. This tracks fraying and slack.
- Each roller. Focus on the two bottom rollers first, then the two top rollers. You can photograph them through the track opening without touching anything. This tracks flat spots and rim cracks.
- The opener rail from the motor head to the door. This tracks chain or belt sag, which is a drive-tension problem that shows up before the opener starts misbehaving.
A Thirty-Second Roller Check
If your door has ten rollers, and one needs replacing, replace all of them. Mixing new rollers with old ones puts uneven load on the hinges and the new roller fails early. A full set of quality nylon rollers with sealed bearings runs $80 to $140 installed in the Dallas market. It’s one of the lowest-cost deferrals of a much bigger repair.
Opener Strain: Current Draw and the Hesitation Test
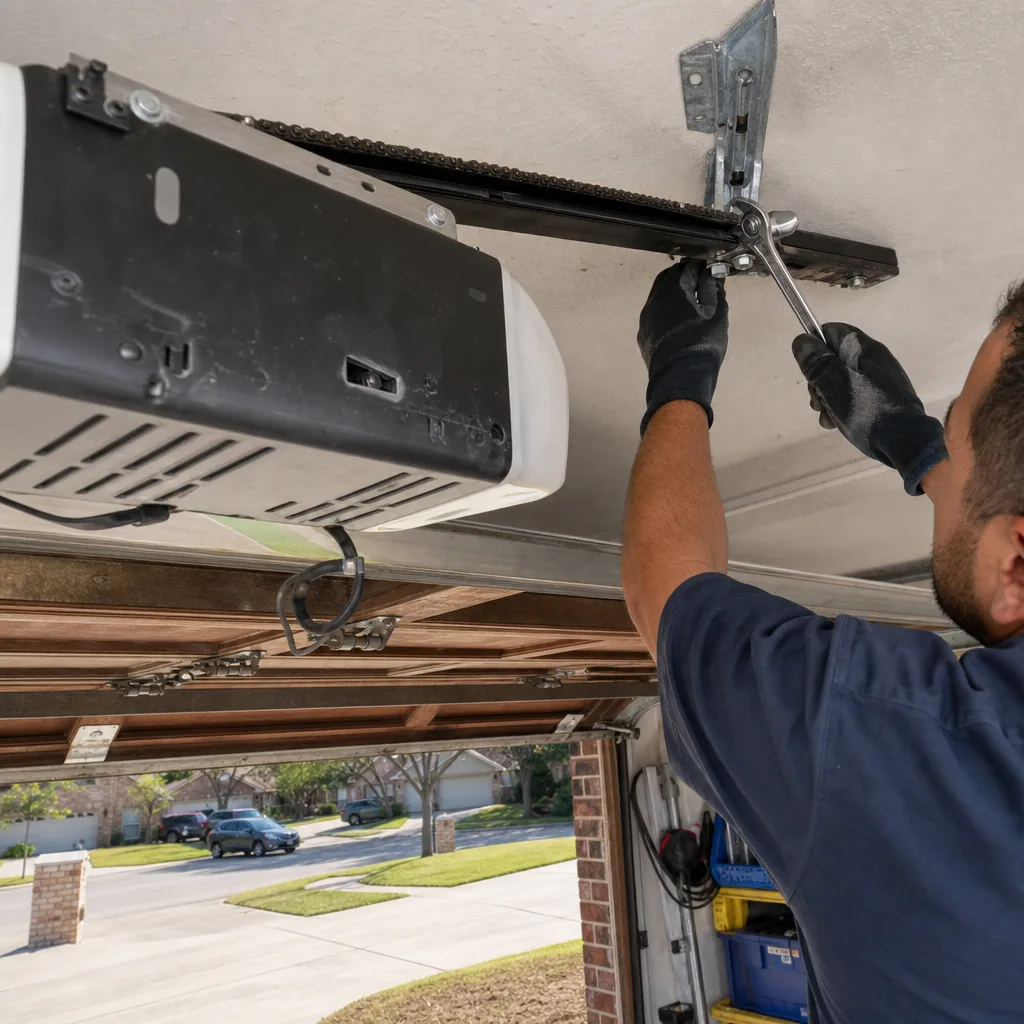
The garage door opener is an electric motor with a circuit board, a power supply, and either a chain, belt, or screw drive. In Dallas, most openers installed in homes built since 2015 are Chamberlain or Genie belt-drive units. These are decent machines. They fail in predictable ways when asked to work against a door that no longer balances properly, because the opener’s motor has to make up the lifting force the spring has lost.
The Hesitation Test
A DC motor opener has a soft-start feature: it ramps up speed over the first half second of travel. That’s normal. What’s not normal is a full second or more of nothing, where the motor is energized but the door isn’t moving, followed by a sudden jerk into motion. That delay is the motor drawing high current against a load it can’t move from a dead stop. It means one of two things: the door has lost its balance and the spring is contributing less than it should, or the motor’s starting capacitor is degrading and cannot deliver the initial current spike. Either way, the opener is working harder than it was designed to, and that shortens its life from a decade to perhaps a year.
There’s a simple way to confirm which one it is. Run the door manually with the opener disconnected. If the door is absurdly heavy, the spring is the problem and the opener is just complaining. If the door is light and the hesitation persists when the opener runs, the problem is inside the opener itself, likely the capacitor or the logic board. In our experience with Dallas homes, the spring is the culprit about three quarters of the time, because most doors haven’t had their springs checked since the day they were installed.
Why the Opener Is Not the Villain
We see a pattern here, and you should know about it. An opener motor that burns out is usually not a bad opener. It’s an opener that spent its final months doing spring work. The motor was asked to lift a door that the spring should have been lifting, and it overheated until the thermal overload or a winding burned. If you replace the opener without fixing the spring, you’ll burn out the new one just as fast. Opener replacement in Dallas runs $300 to $500 with installation, sometimes more for side-mount units. The spring replacement that might have prevented all of it is the cheaper job. Every time we suspect opener strain on a service call, we measure the door balance first. That sequence, balance before electronics, is what the warning signs are trying to tell you if you’ll let them.
Cable Symptoms: Slack, Fraying, and Other Red Flags
Lift cables are the thin steel cables that run from the bottom corners of the door up to the drums on the spring shaft. On a torsion spring door, the cables wind onto drums as the door rises. On an extension spring door, the cables run through pulleys and work with the springs directly. Cable symptoms are among the easiest to spot and the most dangerous to ignore, because a cable that lets go while under tension can drop a section of door in a way that shears anything in its path.
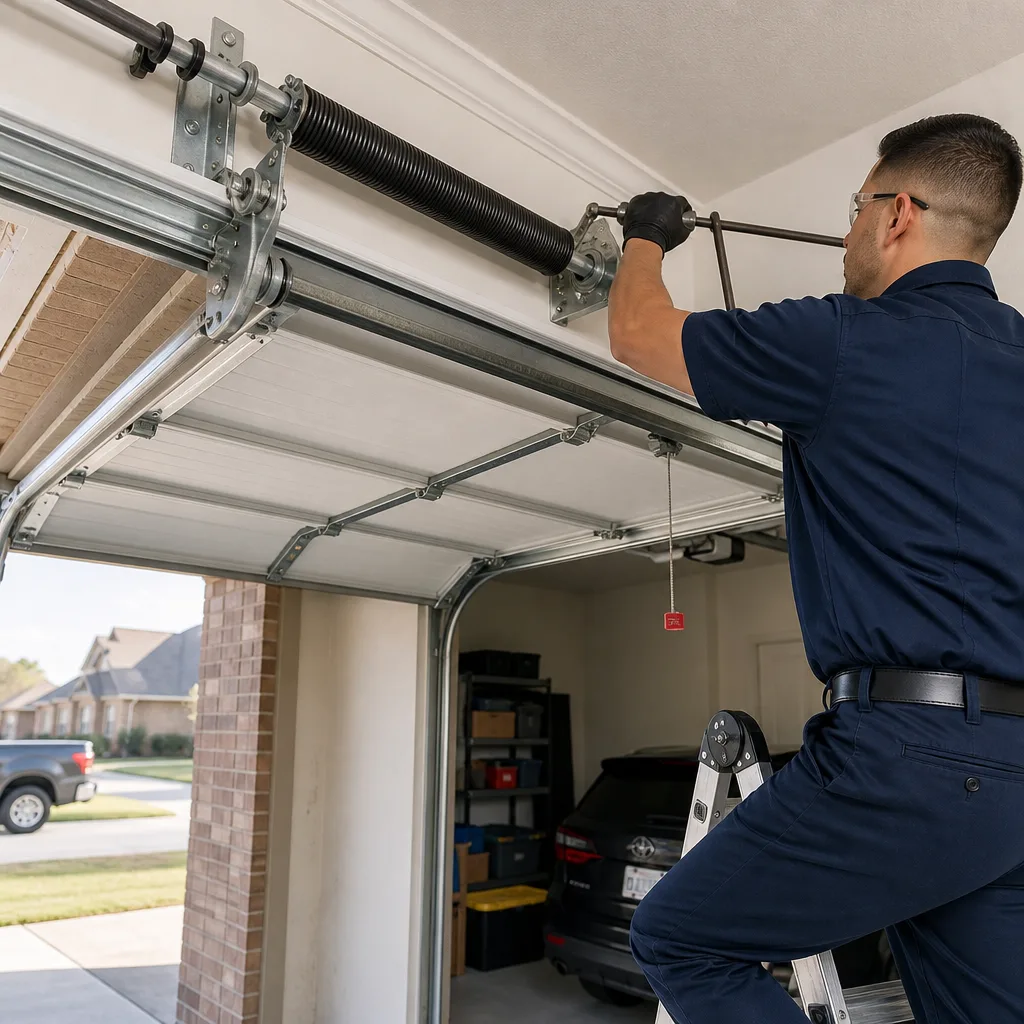
Safety note: never touch, adjust, or attempt to re-seat a garage door cable yourself. The stored energy in the spring system is transferred through the cable, and a cable under tension is not a thing you repair with pliers and patience. This section teaches you what to look for, not what to do once you find it. If a cable shows any of the symptoms below, the next step is a professional inspection.
The Five Cable Symptoms to Log
We’ve responded to a cable snap in a Lake Highlands garage where the homeowner had noticed the door pulling slightly to one side for two weeks. Two weeks of warning. That’s the timeline these symptoms give you in Dallas, typically two to eight weeks between a visible cable symptom and a catastrophic failure. If any of the five items above is present, you have time, but you shouldn’t take much of it.
Documentation Protocol: What to Photograph and When
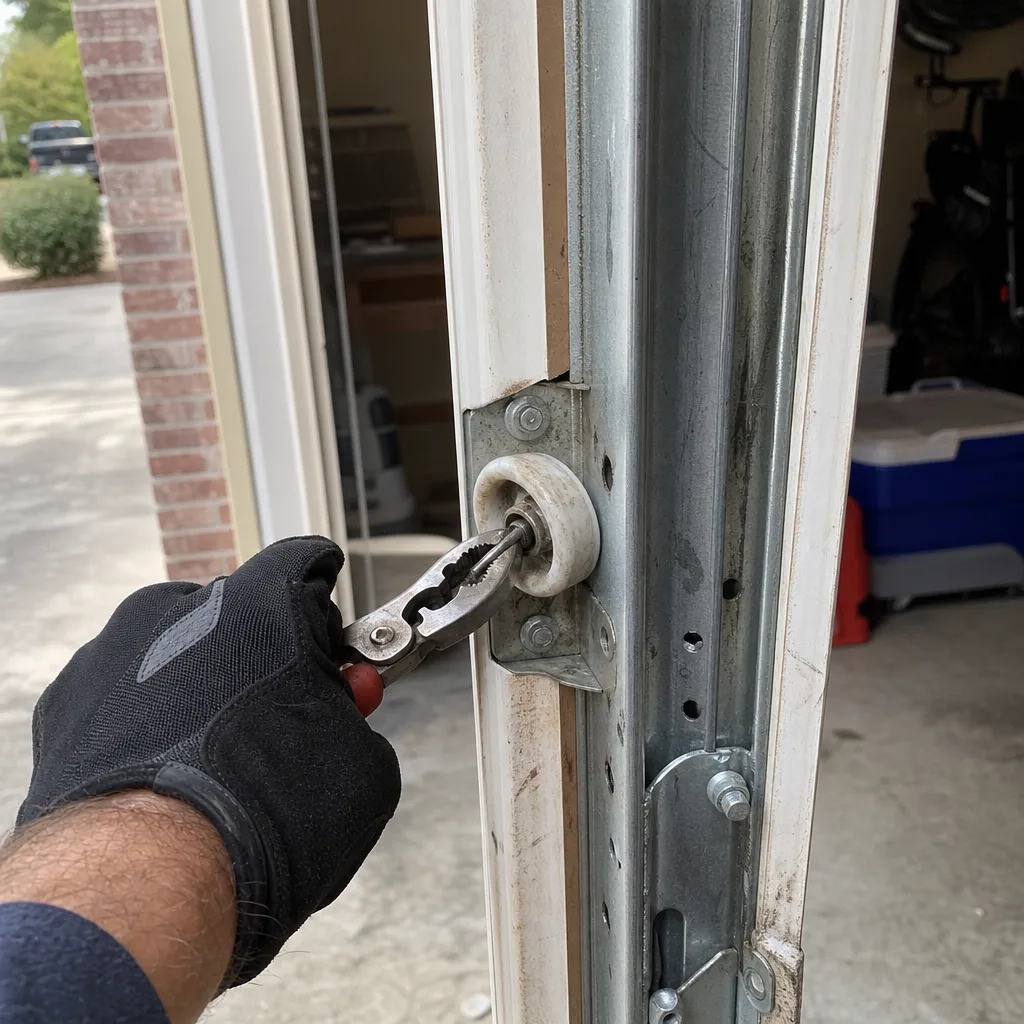
This is the section most warning guides skip, and it’s the one we care about most at Servo Garage Doors Dallas home. The problem with warning signs is that they’re slow. A spring doesn’t go from healthy to fractured overnight. It degrades over weeks, and if you don’t have a baseline, you can’t tell whether what you’re seeing today is new or has been there for a year. Your phone camera is the tool that solves this.
The Five-Photo Protocol
Once a month, ideally on the first Saturday morning, take these five photos of your garage door system. Do them in the same order so they’re easy to compare later. Timestamp is automatic on your phone, but if your camera app doesn’t record the date visibly, add it with a note or rename the files.
Store these in a folder named for the month. When you compare June to March, the changes jump out at you. A technician can also use them. When we run a Garage Door Repair in Dallas call at a home where the owner has been keeping a photo log, the diagnosis is significantly faster, because we can see the deterioration rate, not just today’s snapshot. That’s not a small thing. Deterioration rate is the difference between ‘replace this now’ and ‘watch this for six months.’
What This Has to Do with How We Work
We’re going to say something that might sound self-serving, but it’s the honest answer. The reason we recommend photo documentation isn’t just because it helps you catch problems early. It’s because we believe the standard for garage door work should include photographic evidence, and we wrote that belief into how we operate back in 2015. Clause 4 of The Haven Standard, the operating standard we work under, requires the technician to photograph the failed part before quoting a replacement, and to deliver a documented photo record of findings and completed work at the end of every job. You see the failed spring before you approve the repair. You see the old roller and the new roller side by side. There’s no trust involved, because trust isn’t necessary when the evidence is on the table. If you’re keeping your own monthly photo log, you’re already doing the homeowner version of what we built the company around.
Seasonal Factors: What Dallas Heat and Humidity Do to Door Components
Dallas is not a neutral environment for mechanical equipment. Our summer brings weeks of 100-degree heat; our spring and fall bring humidity swings that condense moisture inside uninsulated garages; our winter, though fast, can drop a cold front through in an afternoon and reset every metal component’s dimensions. Each season loads garage door components differently, and understanding that helps you anticipate which warning signs will appear when. See our Seasonal Garage Door Care for Dallas: Year-Round Homeowner’s Guide for a full seasonal maintenance calendar.
Summer: Insulation, Capacitor Death, and Heat-Cycled Nylon
Heat is the primary stressor. A closed garage in a Dallas summer can reach 120°F or more if the door is uninsulated and the garage faces west. That heat does three specific things to your door system. It accelerates capacitor electrolyte evaporation in opener motor start circuits, which is why opener failures cluster in July and August. It softens nylon roller rims, which is why rim cracks and flat spots tend to appear after the first sustained heat wave. And it expands the metal in tracks and springs, which changes tolerances and can turn a tight-but-fine track into a binding track for a few months. If your door starts binding or grinding in July and was fine in April, the heat is not the whole story, but it’s often the triggering condition.
Spring and Fall: Moisture and Rust Bloom
Dallas gets its heaviest dew points in the spring and fall shoulder seasons, not in the deep summer. When a cold front moves in and the air temperature drops below the dew point, condensation forms on every metal surface inside an unconditioned garage. That includes your springs, your cables, your hinges, and your track hardware. Repeated condensation cycles without re-oiling is exactly what strips the protective coating off torsion springs and starts the rust bloom we described earlier. If you’re going to photograph your springs for the monthly log, spring and fall are the seasons that show the most change between photos.
Winter: The Sudden Event Season
Dallas winters are short, but the temperature swing that comes with a blue norther is exactly what fractures a fatigued spring. Steel contracts in cold temperatures; a spring that has been losing its temper for months will develop a microcrack, and the sudden thermal contraction of a 30-degree drop in six hours will finish it. That’s why most spring failures in Dallas happen on the first few cold mornings of the year, not in July. The failure wasn’t caused by the cold. The cold just set the clock.
For homeowners who want to stay ahead of the seasonal cycle, the pattern to remember is: check springs and cables in the spring, check rollers and opener function in summer, check the whole system before the first cold snap in October or November. If you own a home with an attached west-facing garage in Oak Cliff or the Bishop Arts area, your summer heat load is worse, and your rollers will tell you about it first. If you’re in an older-neighborhood home in Lakewood or Preston Hollow with a detached garage, your temperature swings are wider and your springs and cables are the watch items.
Common Mistakes to Avoid
- Interpreting the hesitation as ‘warming up’. A DC opener has soft-start; it does not have warmup. A sustained pause before movement is a diagnostic signal, not normal behavior. Log it and start checking balance.
- Lubricating everything that squeaks. Silicone spray on rollers, hinges, and the torsion spring tube is fine. Grease on the rollers or track is not; grease attracts grit and turns a minor wear pattern into an abrasive one. And never lubricate the cable; it must grip the drum.
- Replacing the opener without checking the spring. The opener that failed was usually the symptom. If the door is heavy, the new opener will burn out early. Check balance before you spend $300 to $500 on a new opener.
- Ignoring the side that’s different. A door that’s a quarter-inch lower on one side, or a cable that’s looser on one side, is not cosmetic. Symmetry is the baseline. Differences are data.
- Waiting for the annual inspection that never comes. Garage doors are the most frequently used large mechanical system in a Dallas home, and they receive the least scheduled maintenance of any comparable system. The monthly photo log costs five minutes and catches what an annual visit would miss.
- Over-tightening bolts and brackets as a DIY fix. The bolts on a garage door system are set to specific torques for a reason, especially on hinge and track hardware. Cranking them down changes anchor geometry and can accelerate failure rather than slow it.
When to Call a Professional
Three scenarios justify picking up the phone immediately. First: the manual balance test shows the door is heavy, or getting heavier between monthly checks. That’s a spring fatiguing toward failure, and it’s the single biggest predictor of an emergency breakdown. Second: any of the five cable symptoms described above, especially visible fraying or slack. Cable work is not a DIY project under any circumstances, and a cable failure under tension is dangerous. Third: a door off its track, even by a little. Do not try to push it back. Do not run the opener. Call someone who does this for a living. For Dallas homeowners, Garage Door Installation in Dallas and repair work at Servo are quoted before anything gets touched: you get a written price and a written scope of work first, per Clause 1 of The Haven Standard. The number is (469) 460-9039, and we answer live around the clock, including for emergency calls.
Frequently Asked Questions
A torsion spring usually shows rust bloom on the coil surface, uneven gaps between coils, or a manual-lift test that reveals the door feels heavy, before it fractures. These changes appear four to eight weeks before failure in the Dallas climate’s heat and humidity cycles. Call (469) 460-9039 for an inspection if you’ve logged any of them; we quote a written price before any work.
Torsion spring replacement on a standard residential door in Dallas typically runs $180 to $340, including parts and labor, with the exact price confirmed in writing before work begins. You’ll know the number before you approve the repair, not after. Call (469) 460-9039 for a written estimate.
A pause of a full second or more between pressing the opener button and door movement usually means either the spring has lost lifting force and the opener motor is straining against the imbalance, or the opener’s start capacitor is degrading. Disconnect the opener and lift the door manually; if it feels heavy, the spring is the problem. If it’s light, suspect the opener electronics. Both are repairable, and both get worse if ignored.
Roller replacement is possible for a careful DIYer on some doors, but not on all of them. Bottom rollers on torsion-spring doors sit under tension, and the safe replacement method varies by door design. If you’re not certain about your door type, the risk is a loaded spring releasing uncontrolled. In our experience, the $80 to $140 a full roller set replacement costs is less than the risk-adjusted cost of doing it wrong.
Monthly visual checks, using a five-photo log of the door, springs, cables, rollers, and opener rail, will catch every leading indicator described in this guide. Seasonal checks in spring and fall should go deeper, especially for rust on springs and cables. If you keep the photo log, a technician can assess deterioration rate from the images alone.
Yes. Servo provides Garage Door Opener Repair & Installation in Dallas across all major brands, including LiftMaster, Chamberlain, Genie, and Craftsman. Every opener job gets a written price and scope before work starts, and you receive a photo record of findings and completed work afterward. Even for electrical and opener work, the written-price rule applies.
The Bottom Line
Garage door failures are rarely sudden, even when they sound that way. They announce themselves in measurable changes: a gap at the floor that wasn’t there, a cable that’s looser than its twin, a spring with rust bloom and uneven coils, a hesitation that lasts a second too long. A Dallas homeowner who photographs the door system once a month and runs the simple manual balance test twice a year will catch nearly every failure before it becomes an emergency. That turns a $340 emergency repair into a scheduled $240 fix, and it turns an opener that dies on a 105-degree afternoon into an opener that gets replaced on a Tuesday in March, on your schedule. Measure, document, and call before the lagging indicator has a chance to ruin a morning.
Written by Marcus Deller, Owner at Servo Garage Doors Dallas, serving Dallas since 2015.